


1959 Fender Bassman
A client of mine recently bought a 1959 Fender Bassman at a surprisingly affordable price. The only snag was that the mostly original chassis, transformers and components were housed in a reproduction cabinet covered in pale yellow tweed. That’s why this highly desirable classic cost only about as much as a modern boutique amp. Unfortunately, it was a case of ‘right sound, wrong look’, so he asked me if I would try to distress the cabinet.

Although the tweed had some sort of coating, compared to the real thing it looked pale and creamy.

Six colour swatches made with various lacquer and dyes sitting on a ’59 5E3 cabinet. Make sure you label the offcuts on the rear side so you don’t lose track of which is which.
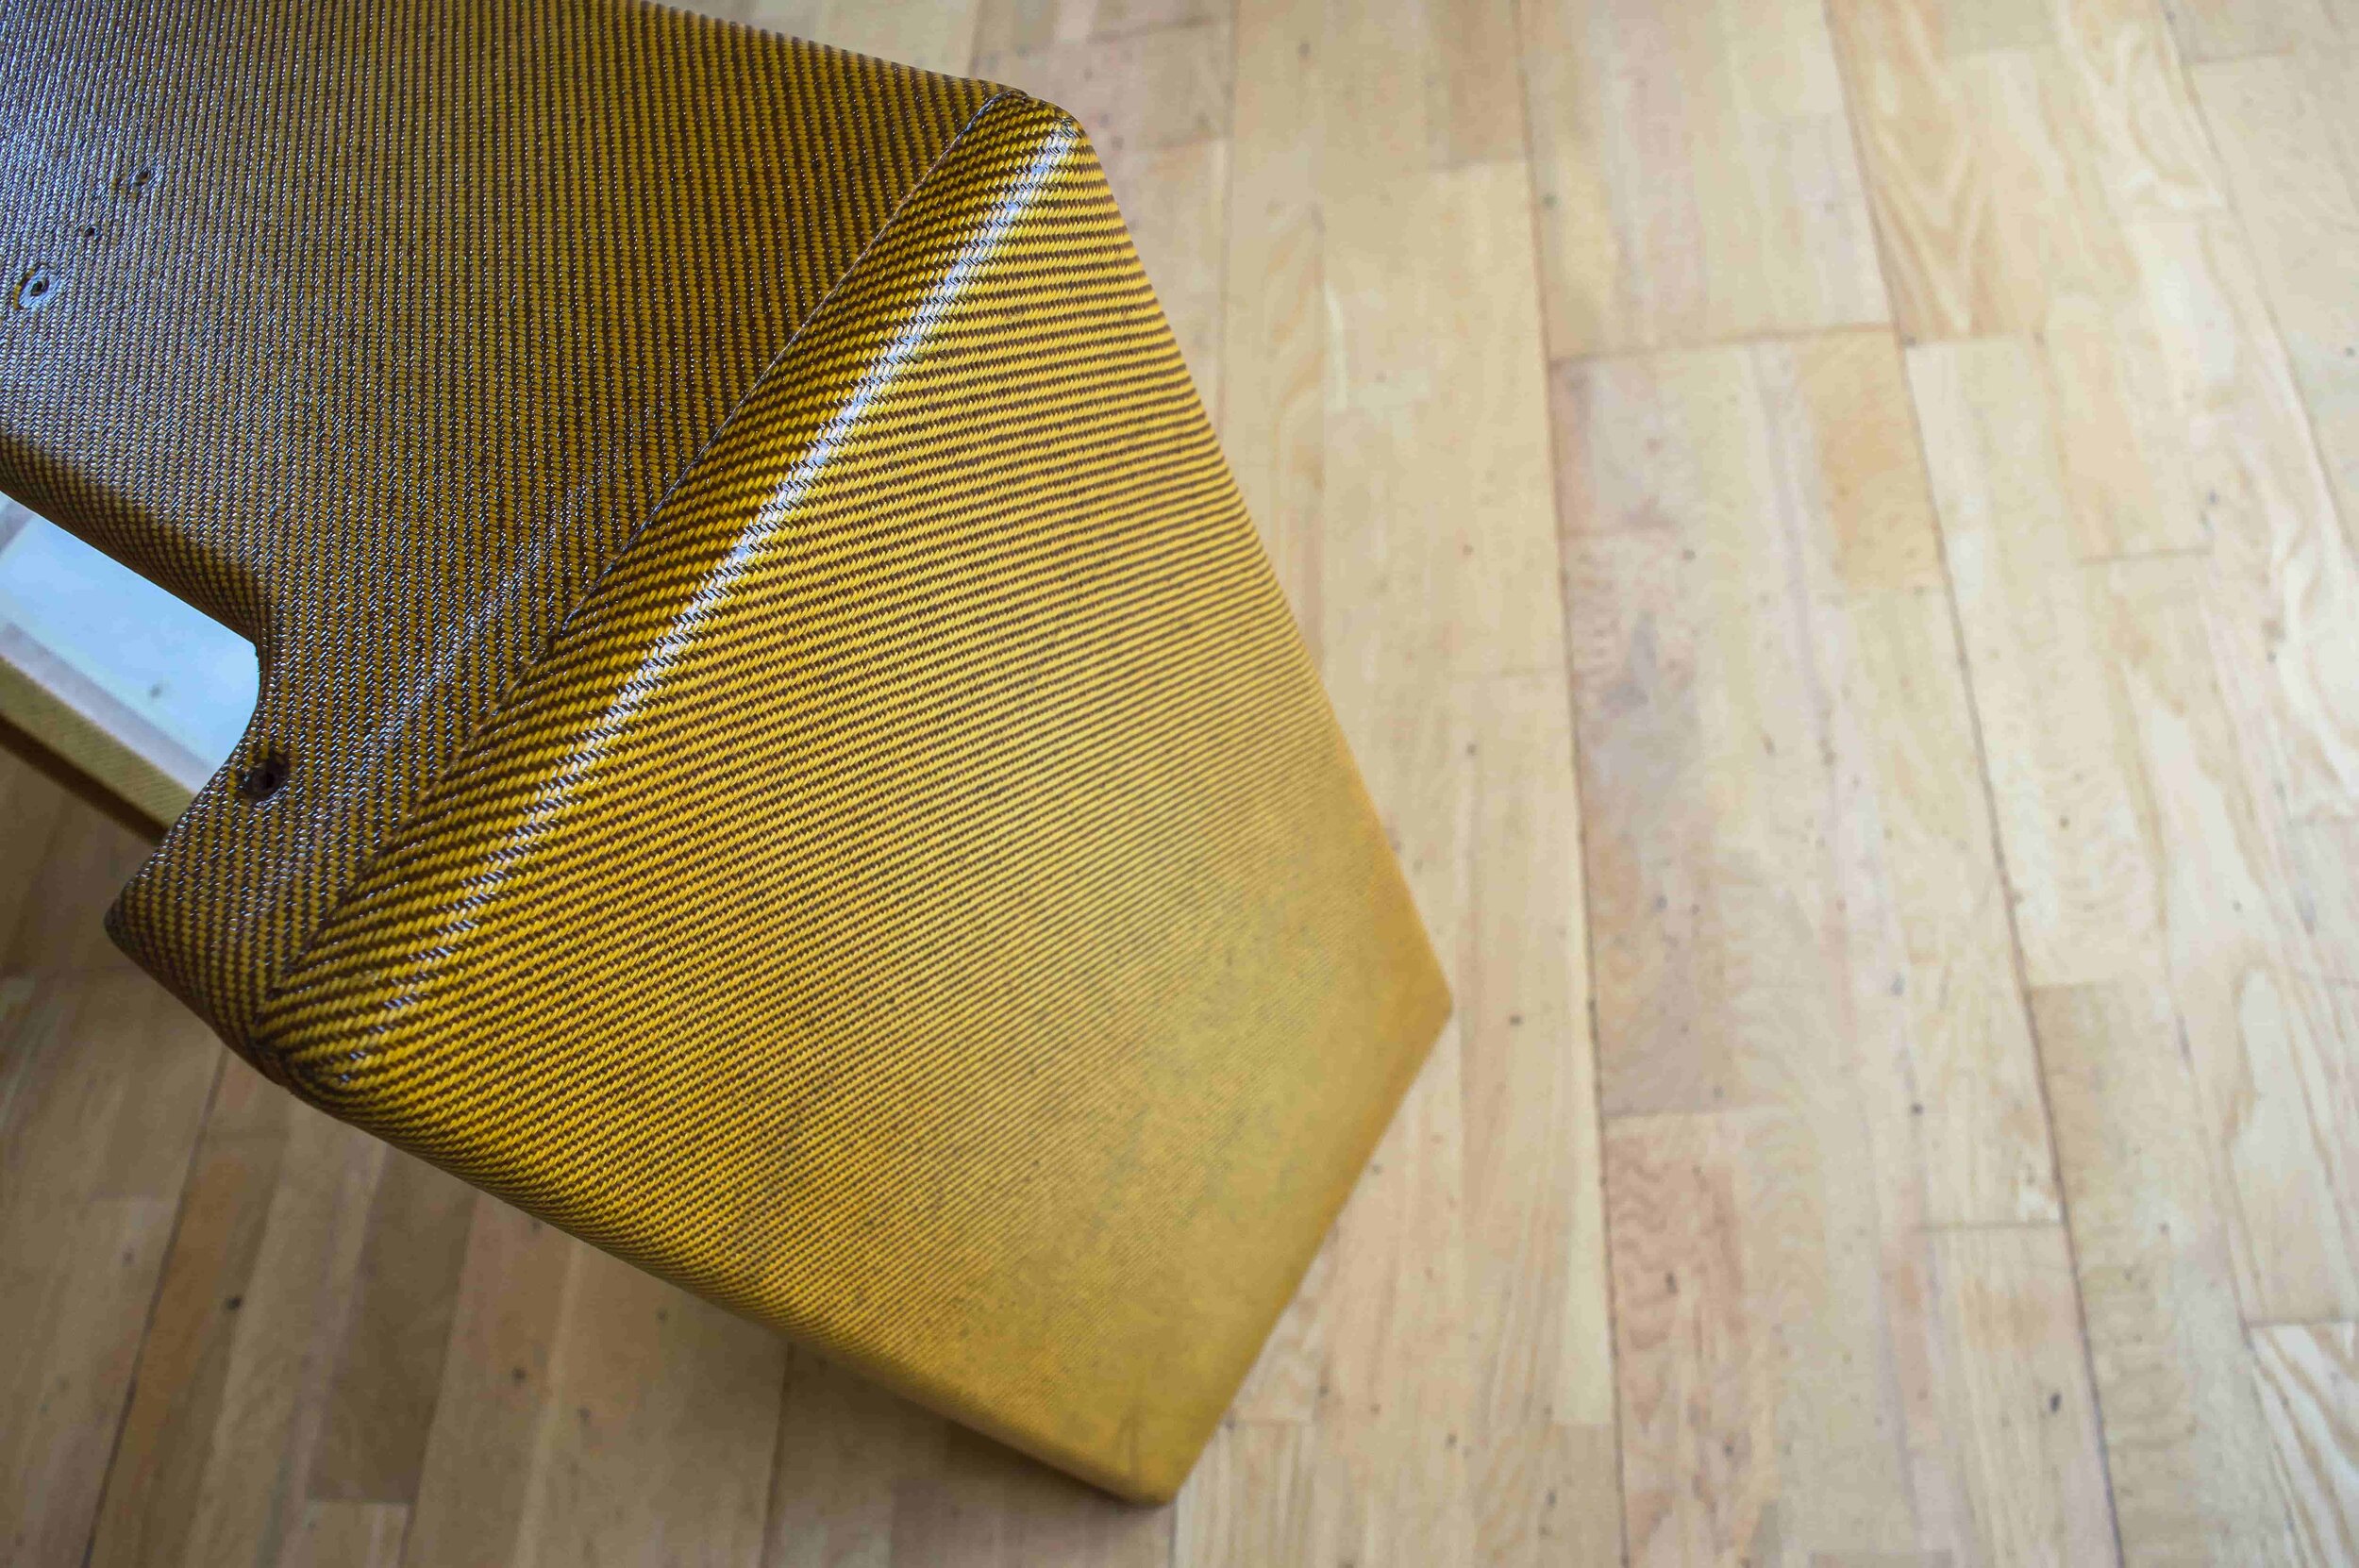
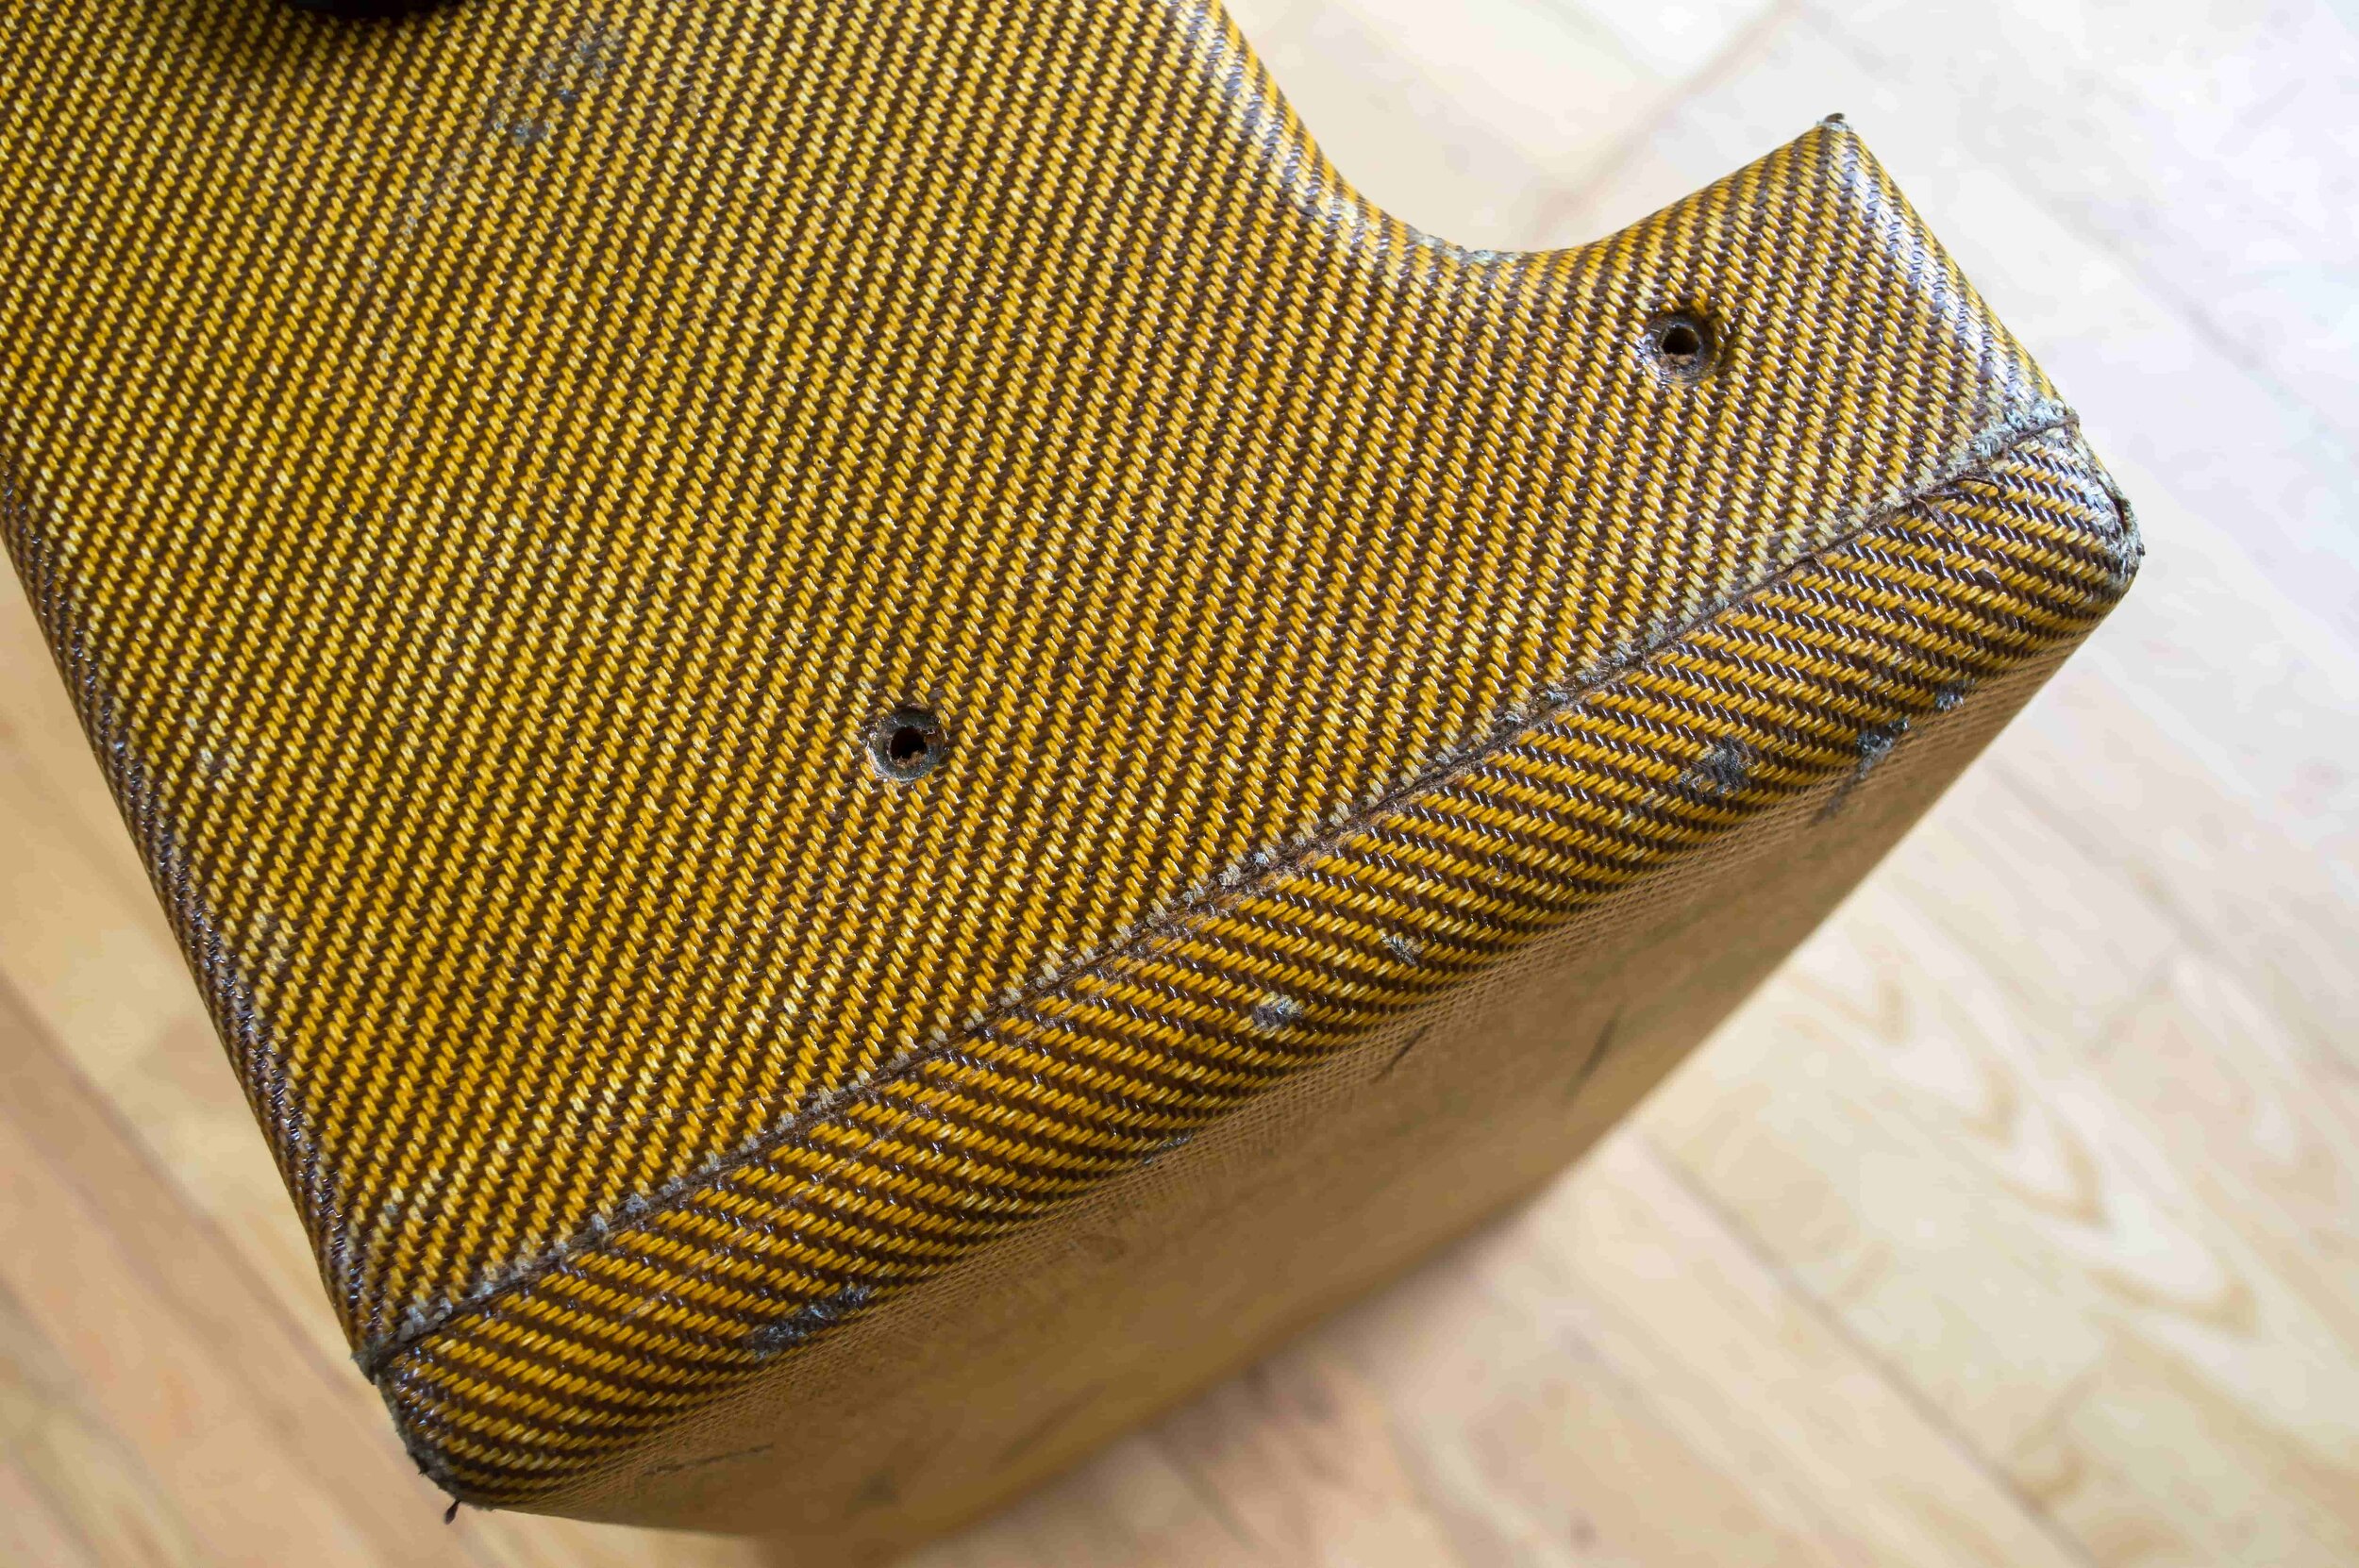
The bottom of this 5E3 is much darker than the sides. Also note that the centre of the side panel is darker than the edges.

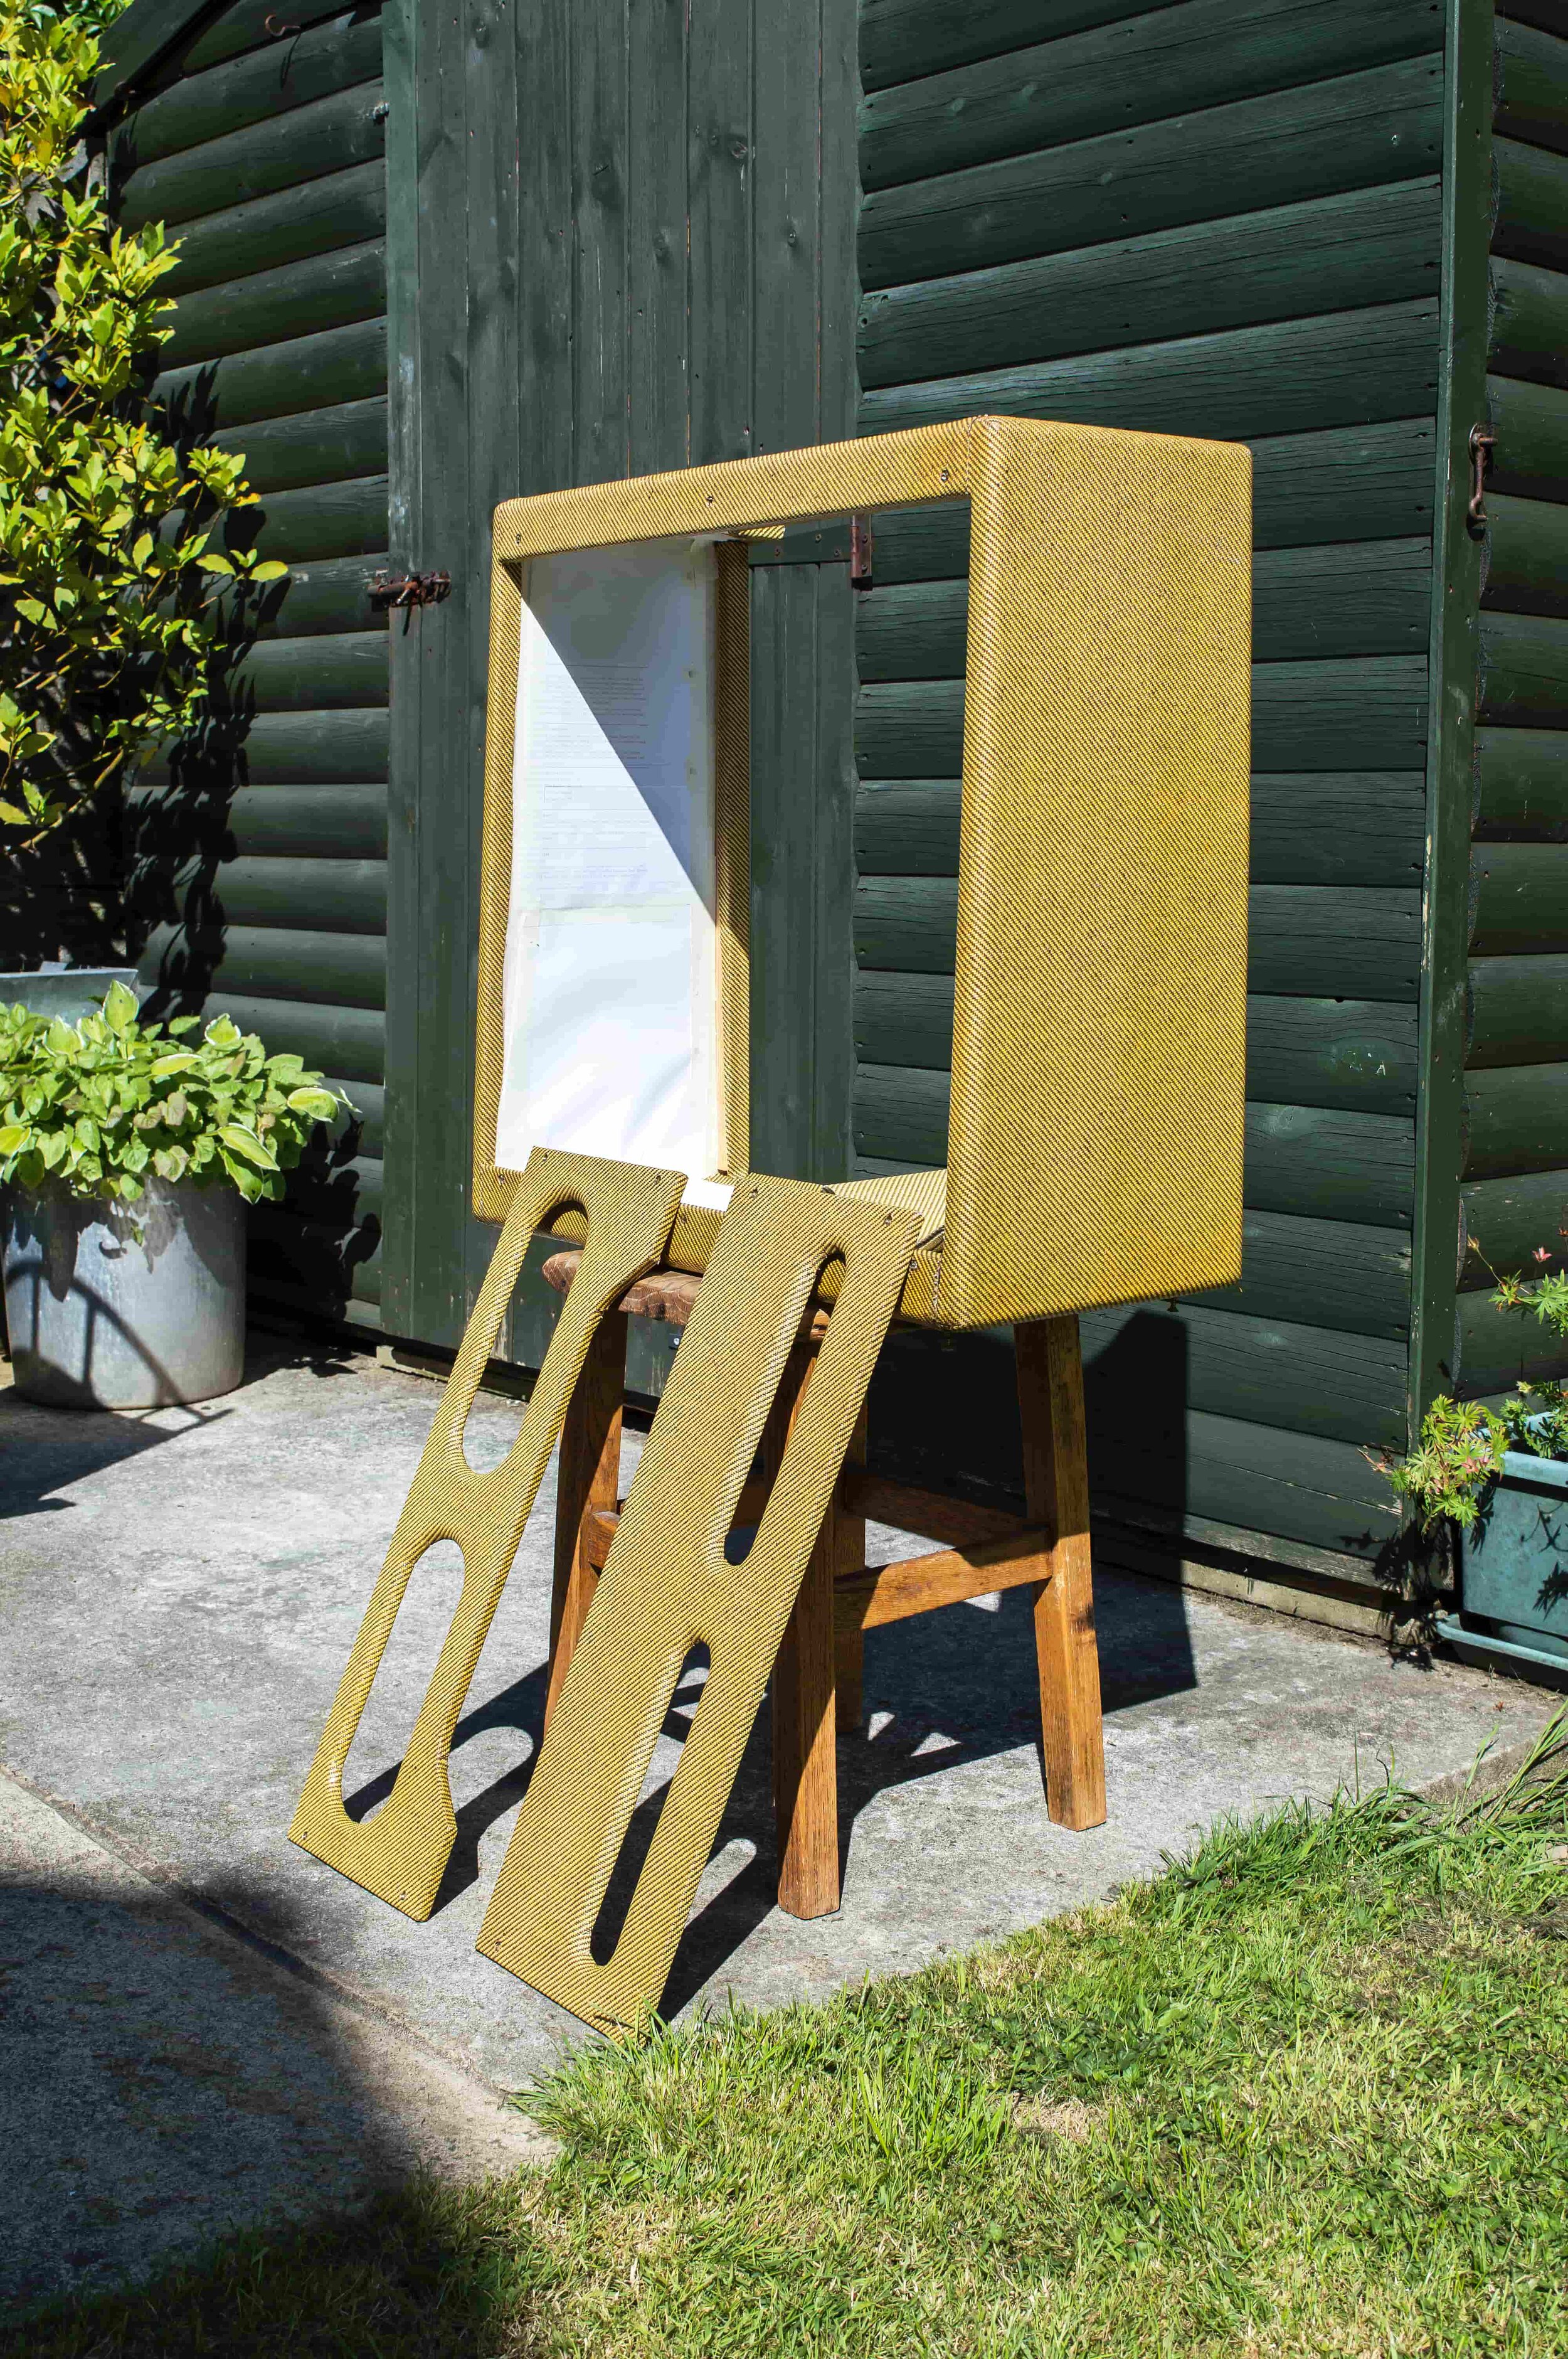
When you take a cabinet to pieces, it’s wise to bag and label all the parts.
After two coats of ‘transparent’ shellac polish, the cabinet looks slightly mellower. Here it is drying off in the sunshine.

Some tinted clear has been sprayed onto one of the back panels, and you can already see the contrast between the panel and the unsprayed cabinet.
I tried to replicate the faint ‘burst’ effect on the top and side panels by spraying the tinted coats more heavily around the edges.
After several coats of tinted clear and light tint clear, the colour of the Bassman’s cabinet looked very much like the 5E3’s.

The tool kit for this project is pretty basic. I completed the whole thing with a rasp, file, sandpaper and a Scotch pad. The rasp will need a wire brushing to clean the gunk off its teeth.

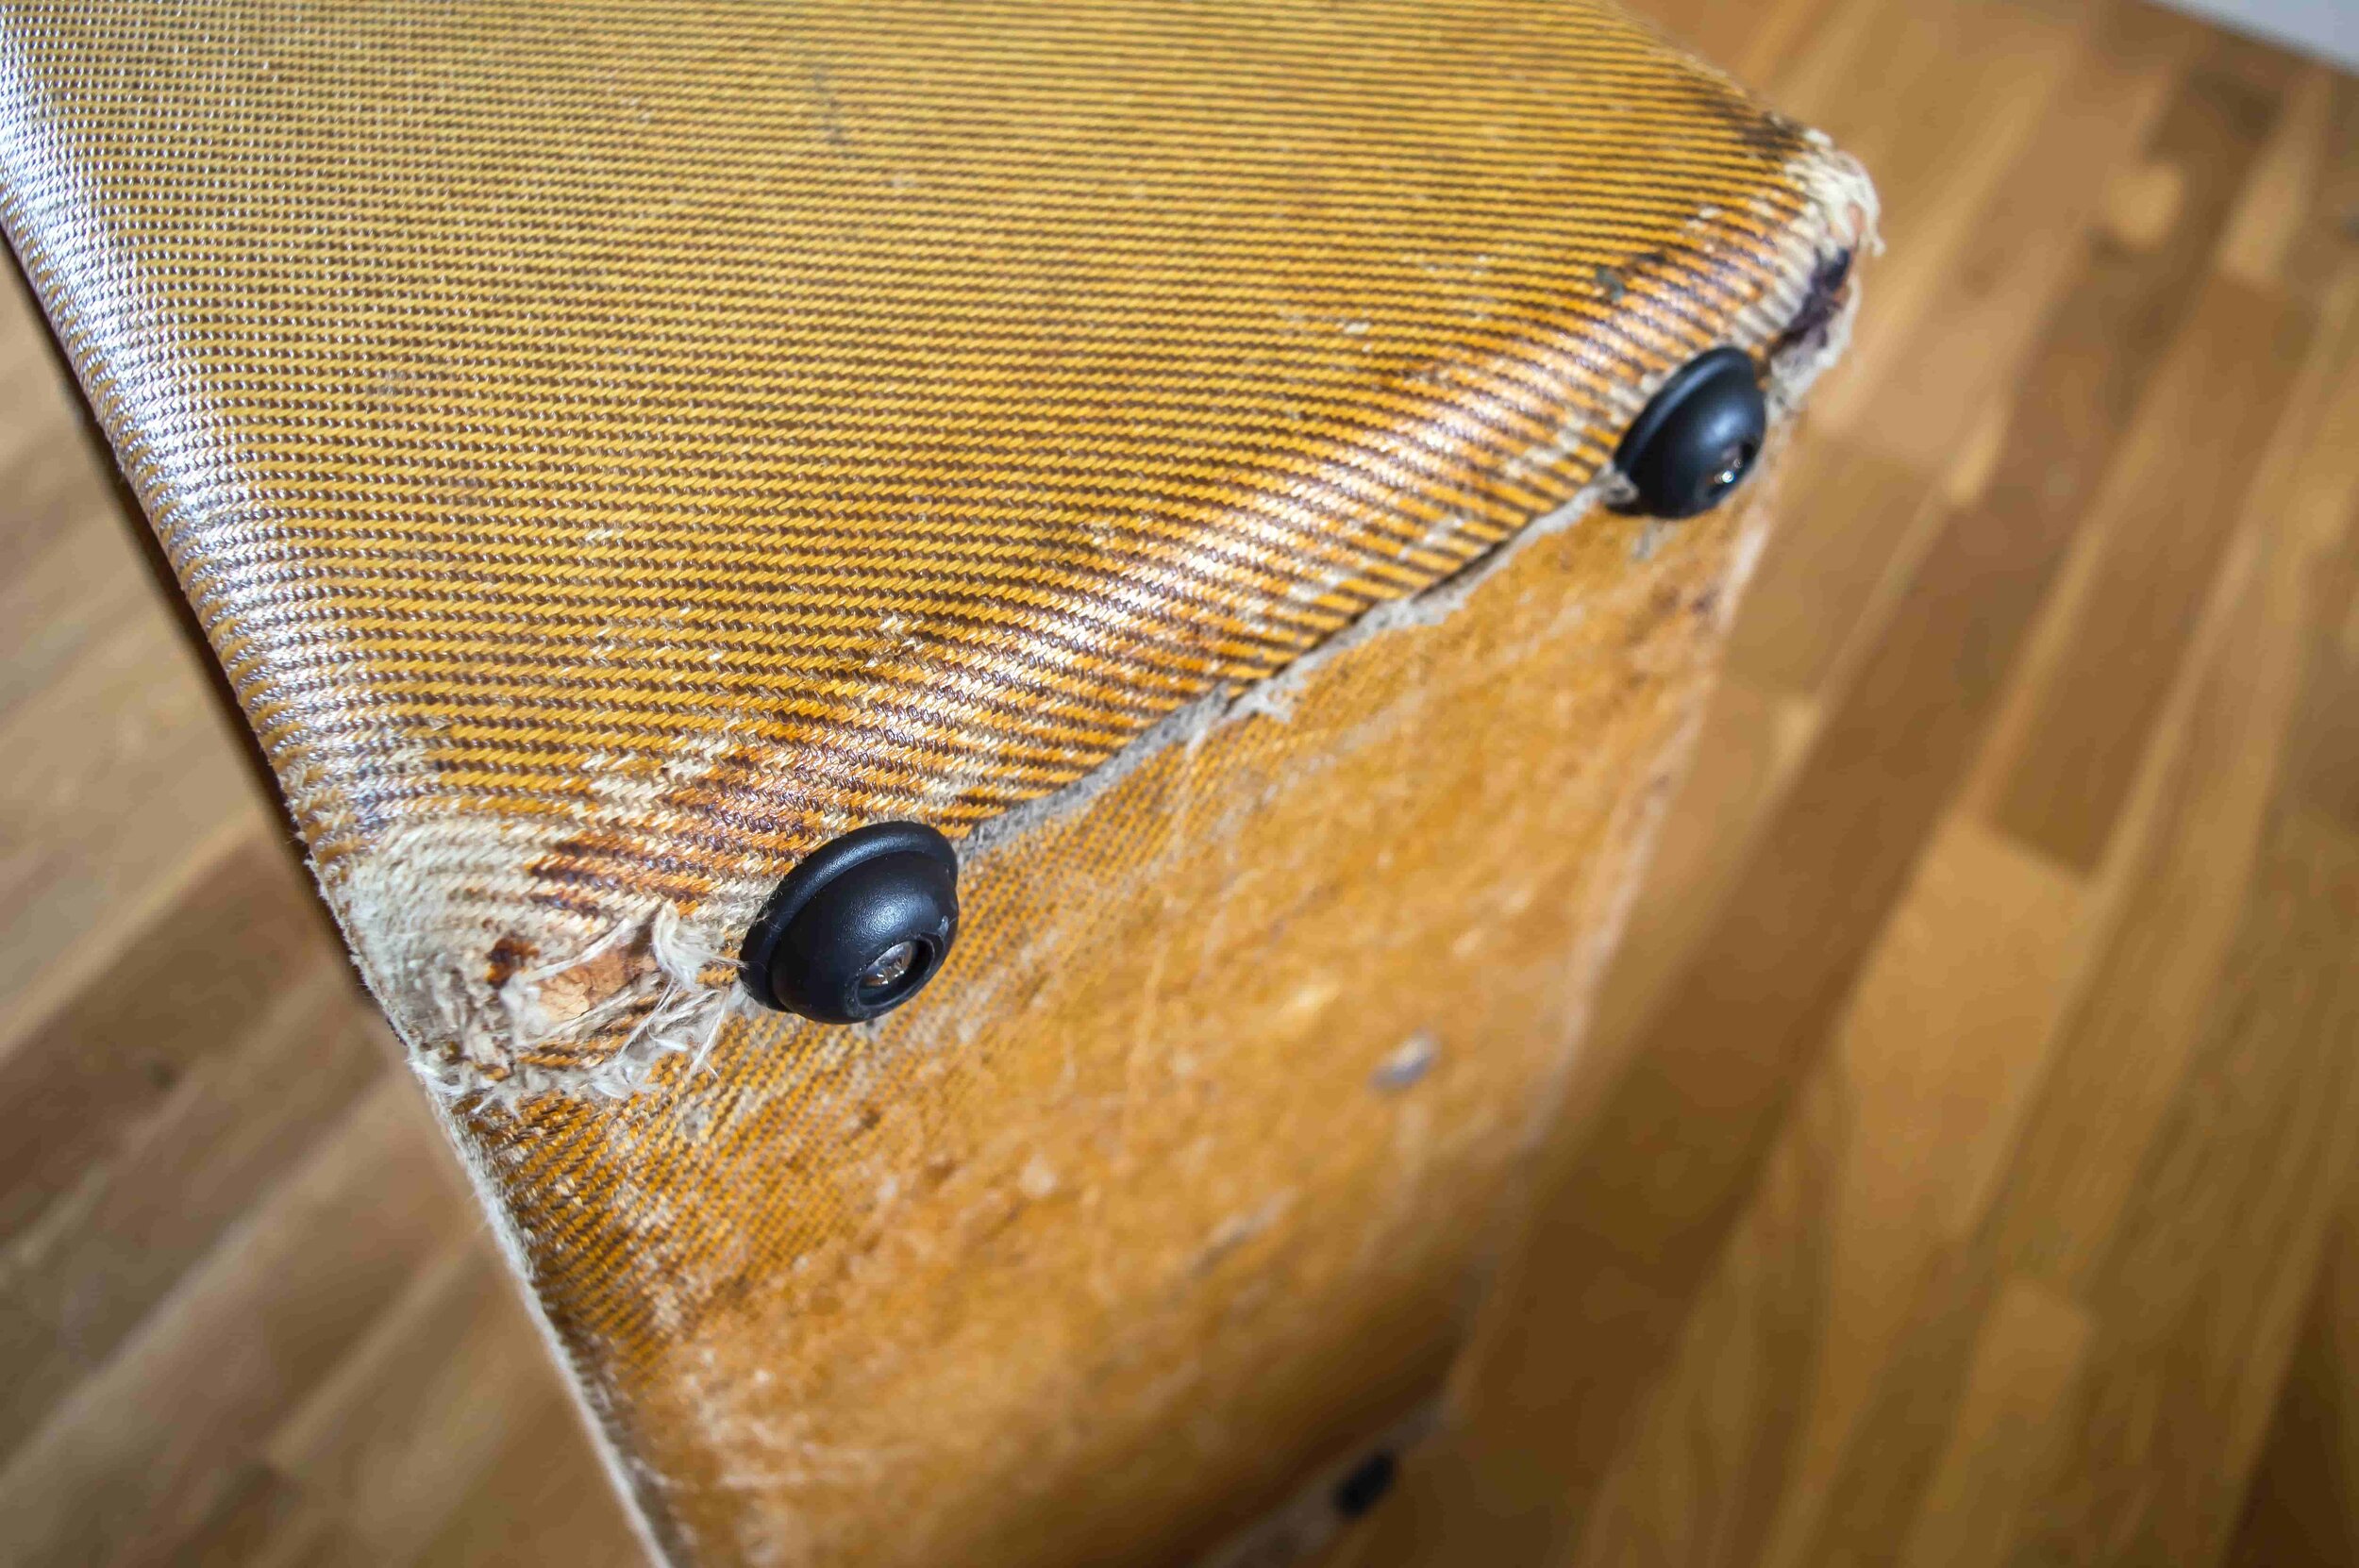
Since the finish sits on the surface, it’s easy to scuff through to the paler tweed beneath. The exposed areas looked a bit too pale at this point, so I darkened them with ash and charcoal dust.

Brushing the baffle with some matt black oil paint created a more authentic look.

The tweed looked a bit bright, so I toned it down by rubbing ash from my barbecue and charcoal dust into the exposed areas. I also rubbed the charcoal dust all over the cabinet and it created dark patches in certain areas.


The finished amp!

The finished amp in all its frayed glory, I’m very happy with the results.