


1989 GRECO TO 1954-STYLE LES PAUL GOLDTOP
Goldtop to ‘burst conversions have become increasingly popular, so I thought it would be a fun challenge to do the opposite. This guitar started life as a 1989 Greco LP Standard copy, with the factory bridge installed off centre. But the weight was comfortably under 9lbs and I was confident there was a great guitar lurking under the thick poly finish.
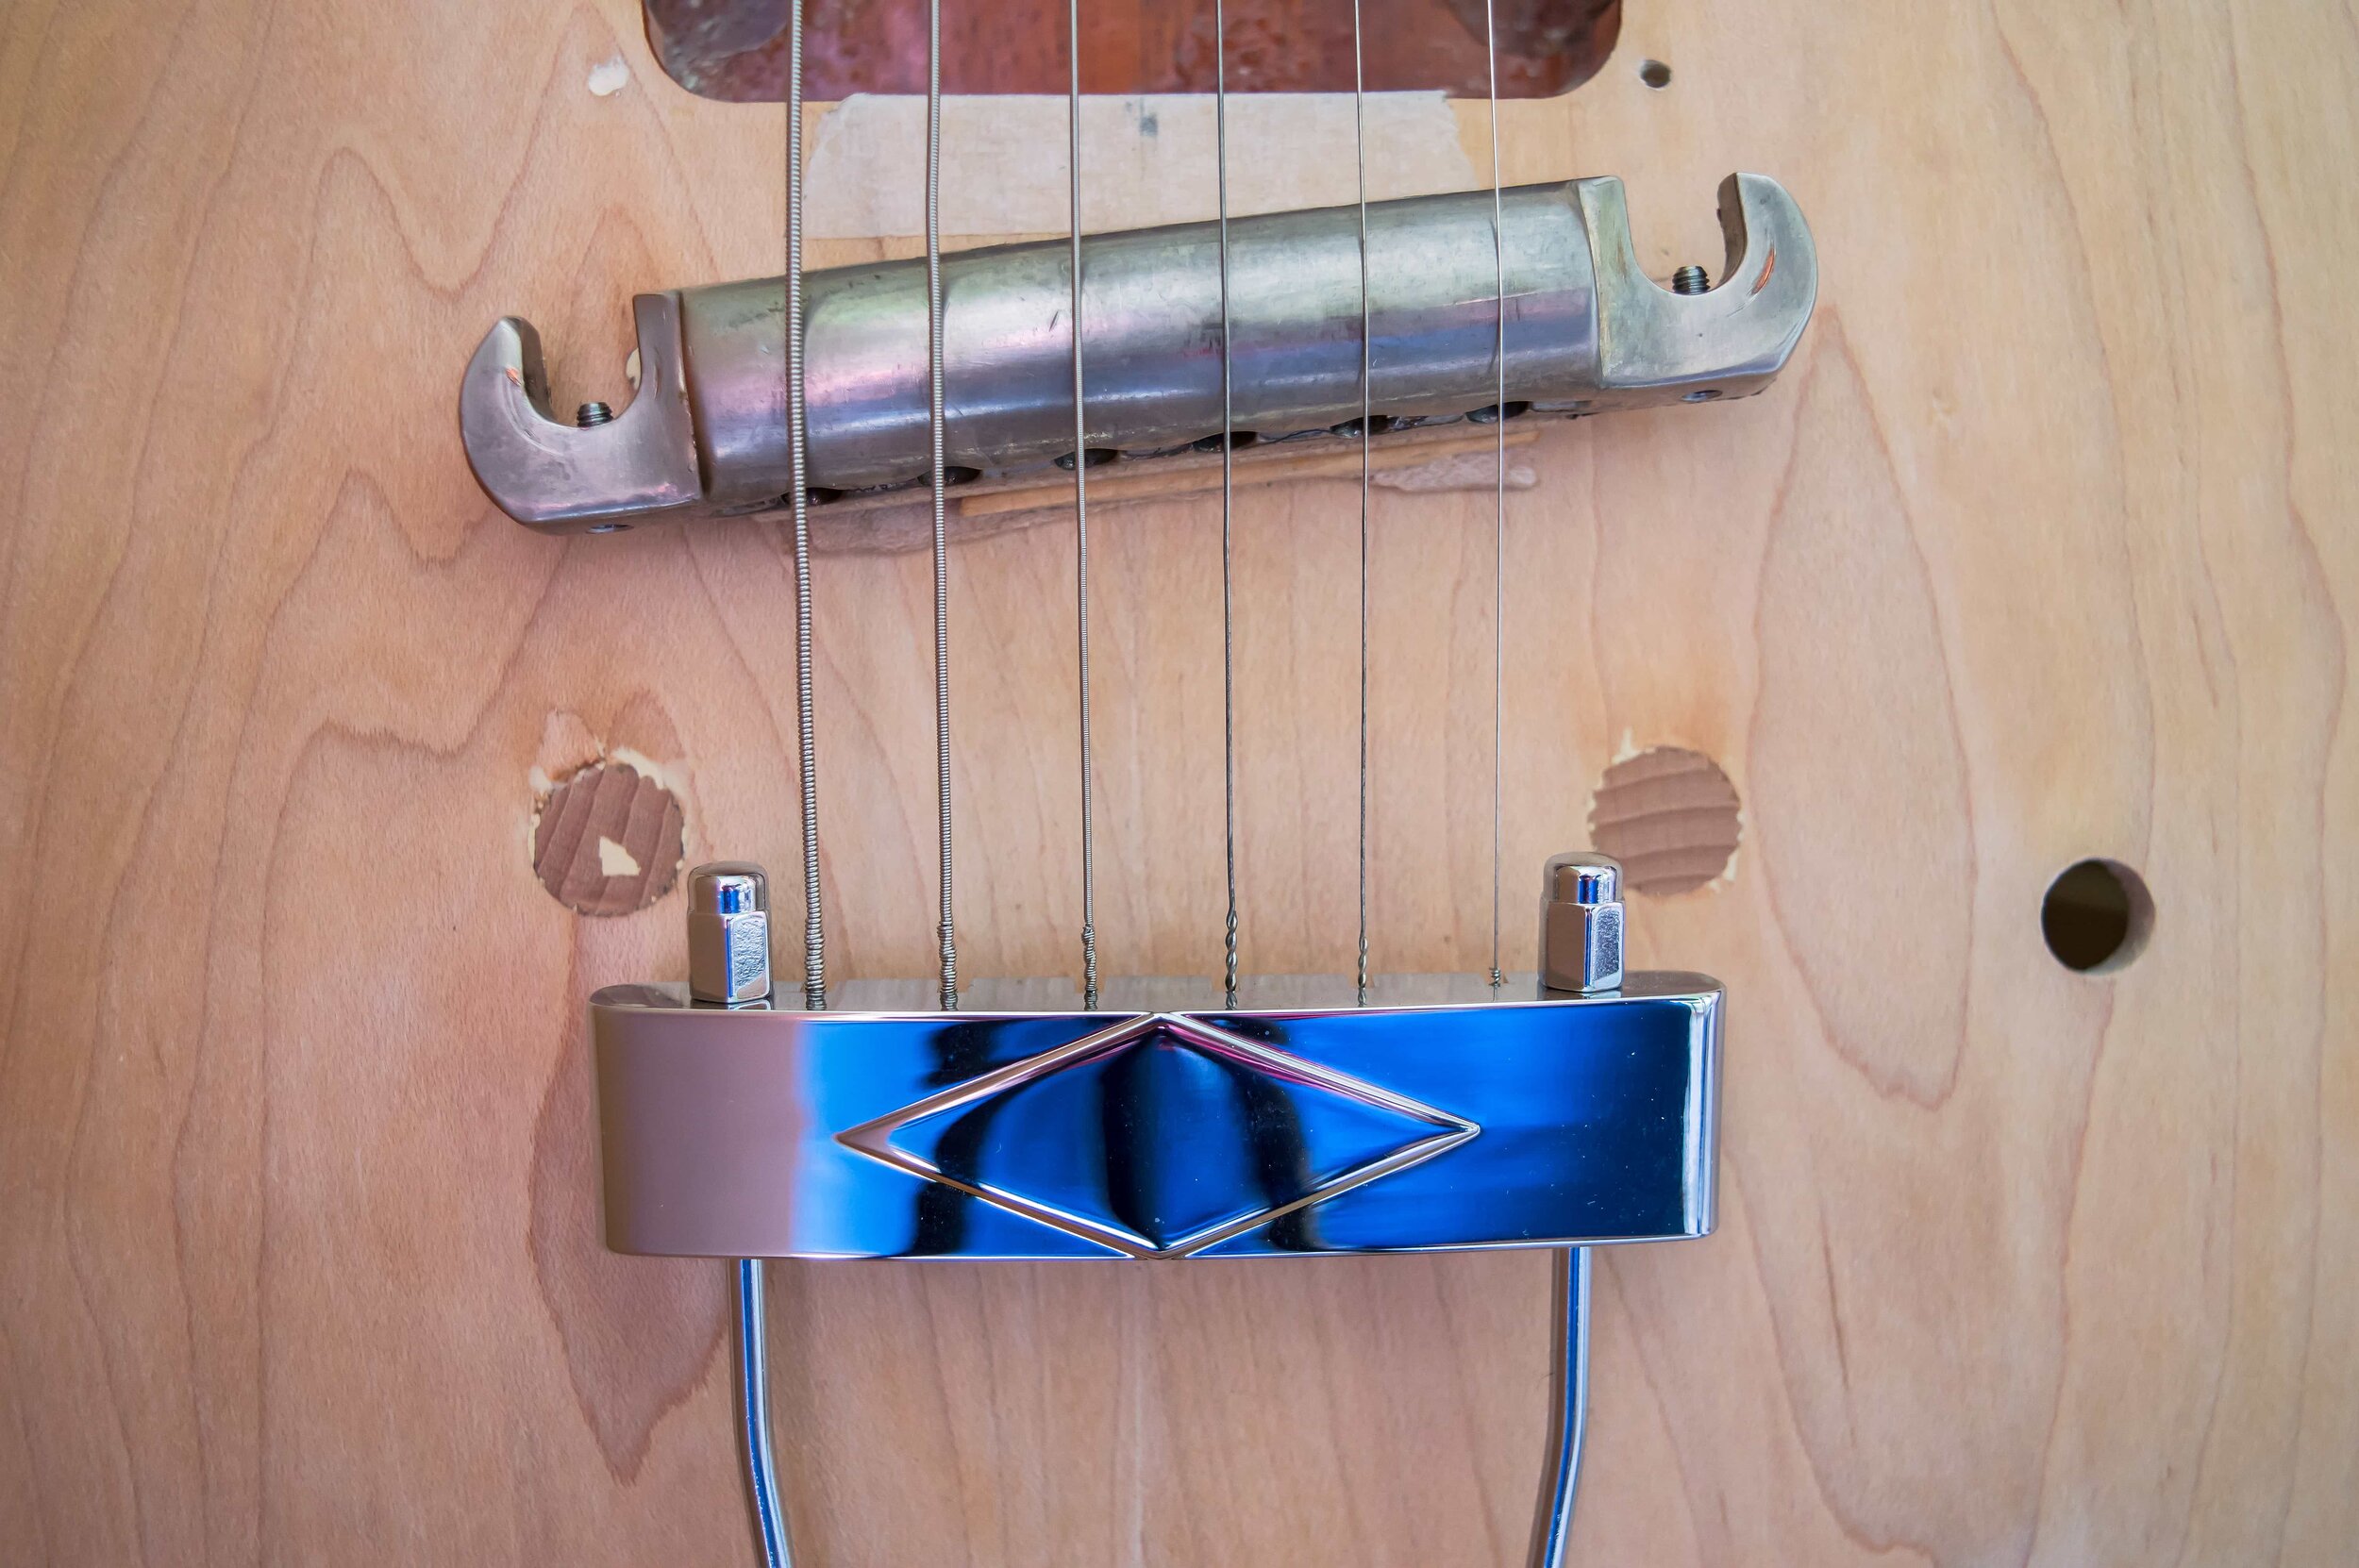
The original bushing holes have been plugged and sanded level with the top, and a trapeze tailpiece is fixed to the strap button hole. This allows the guitar to be strung up so the bridge location can be established.

A pillar drill is used to make the holes for the wraptail bridge studs.

A cradle is made to secure the guitar body and provide a platform for the pickup hole router template.

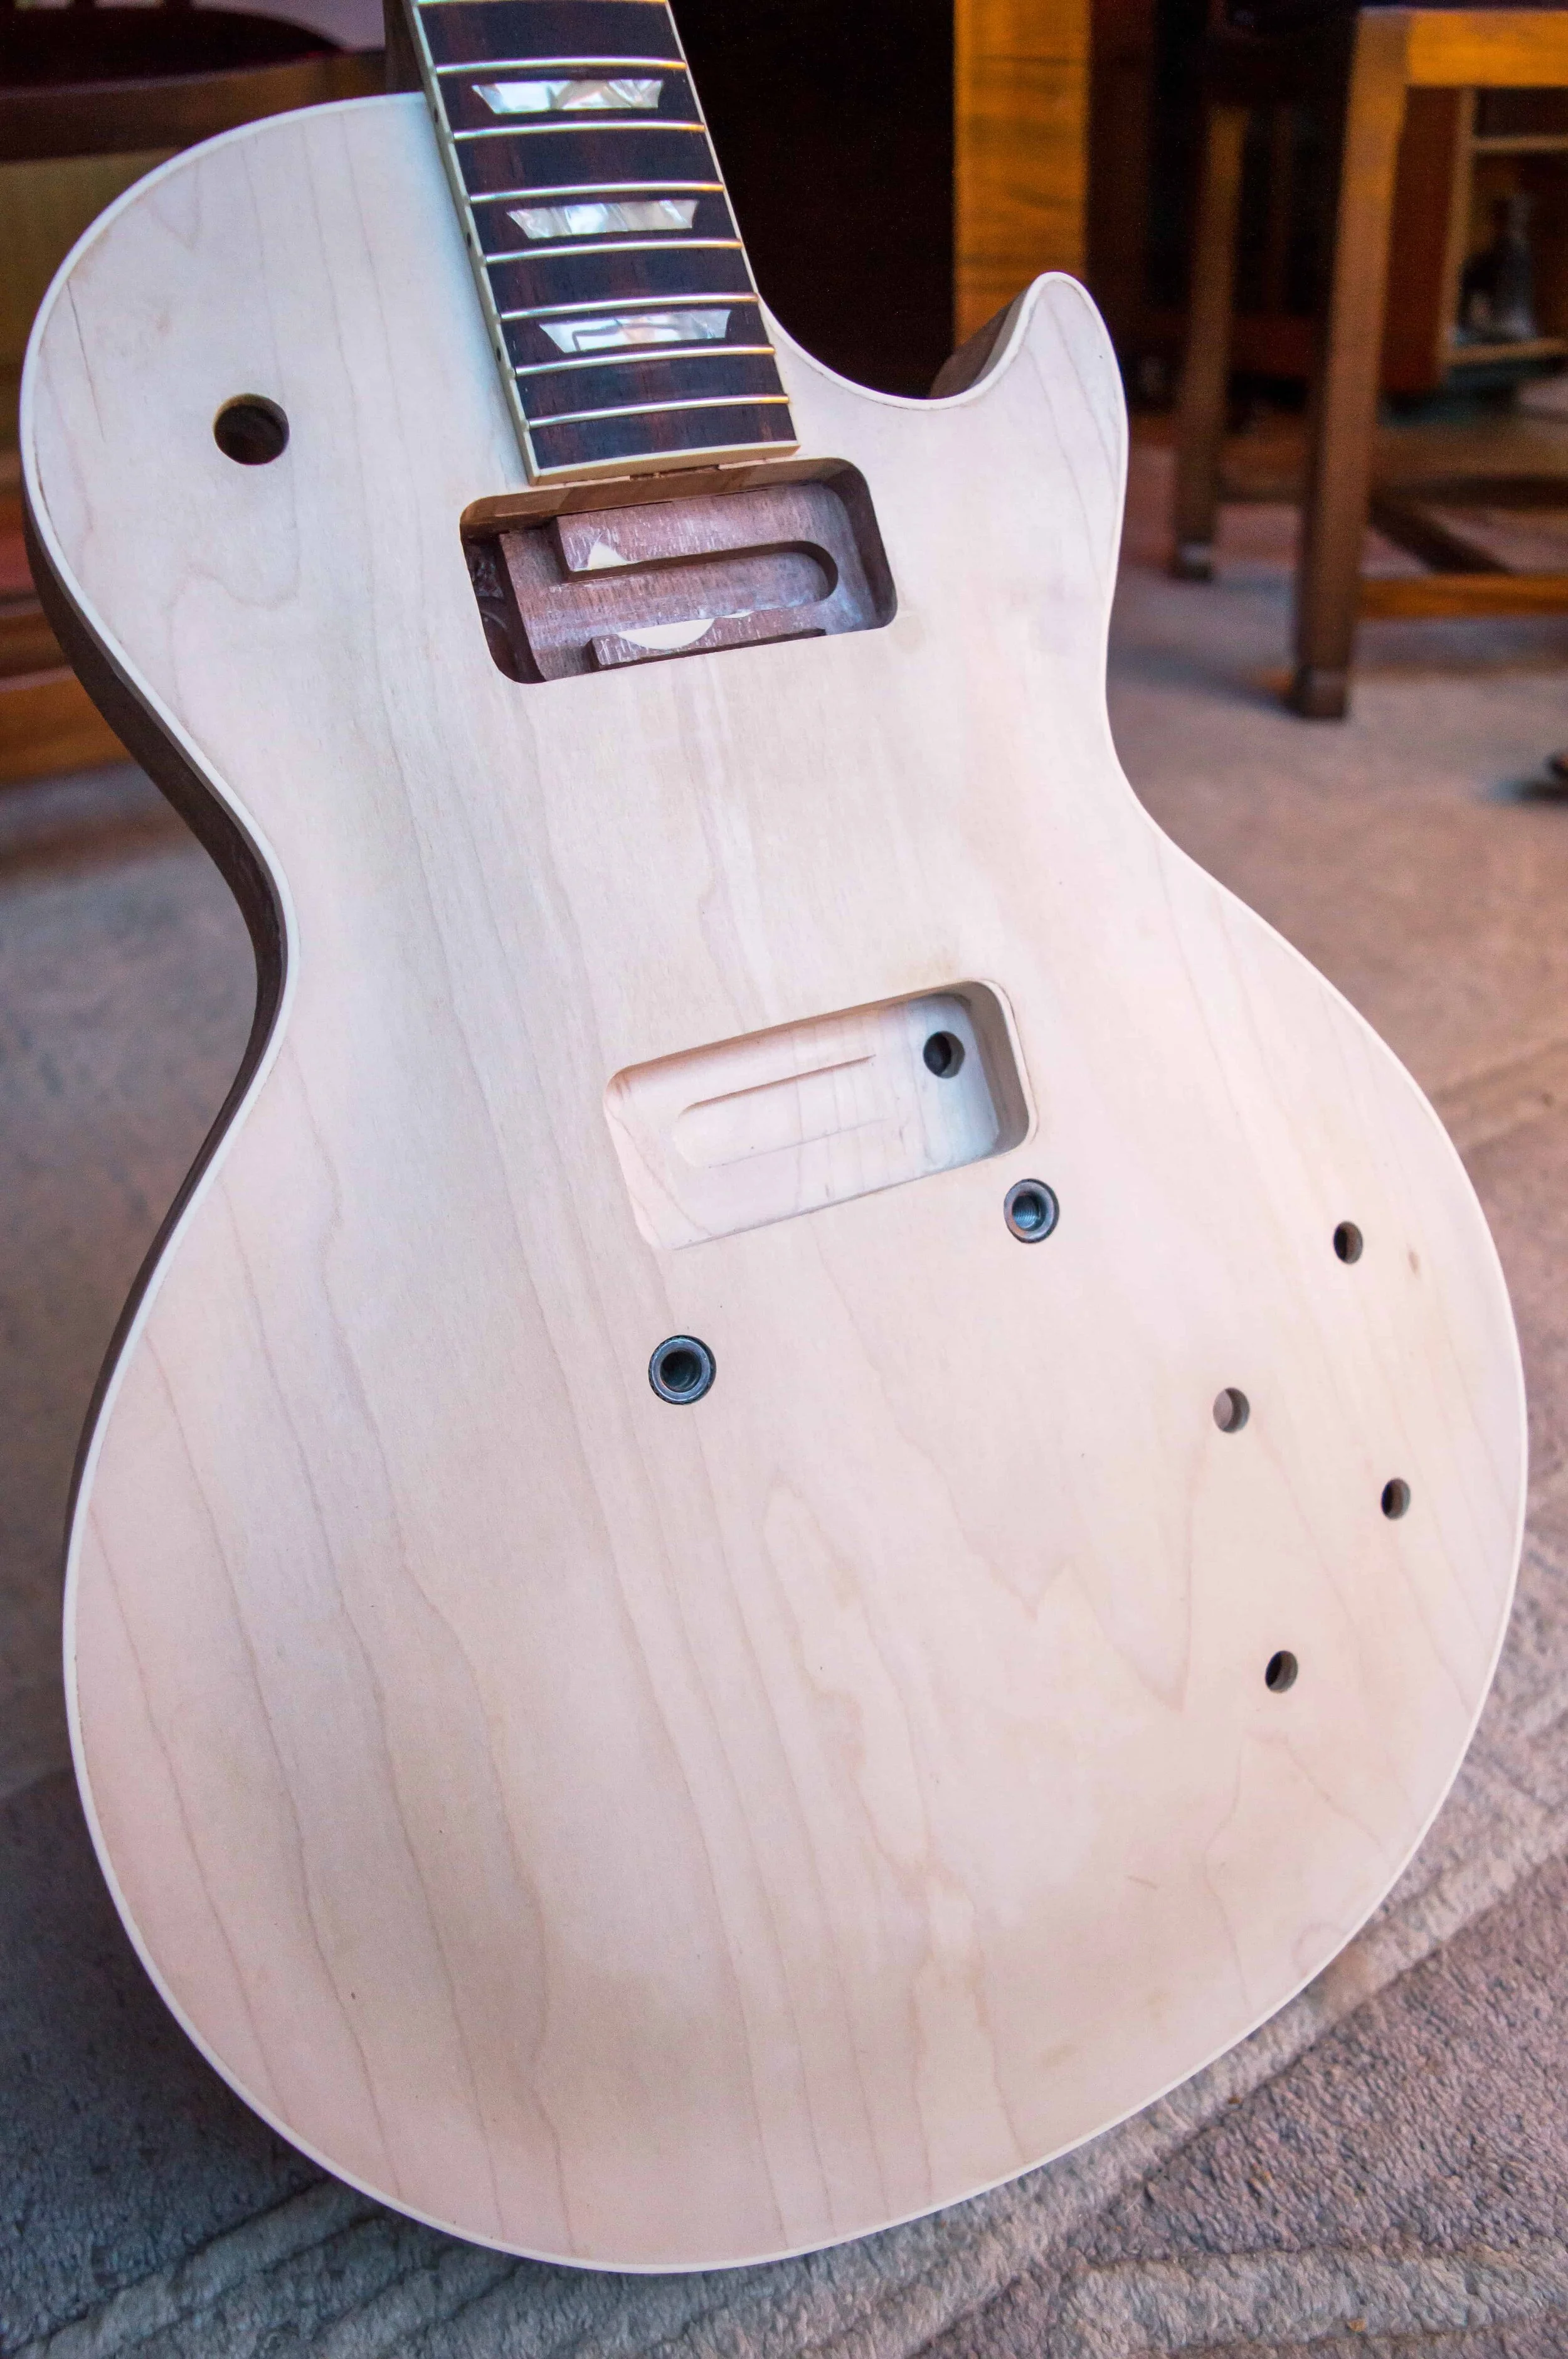
The plug hole for the bridge has bee routed and it extends beyond the edges of the humbucker rout and the ring screw holes.
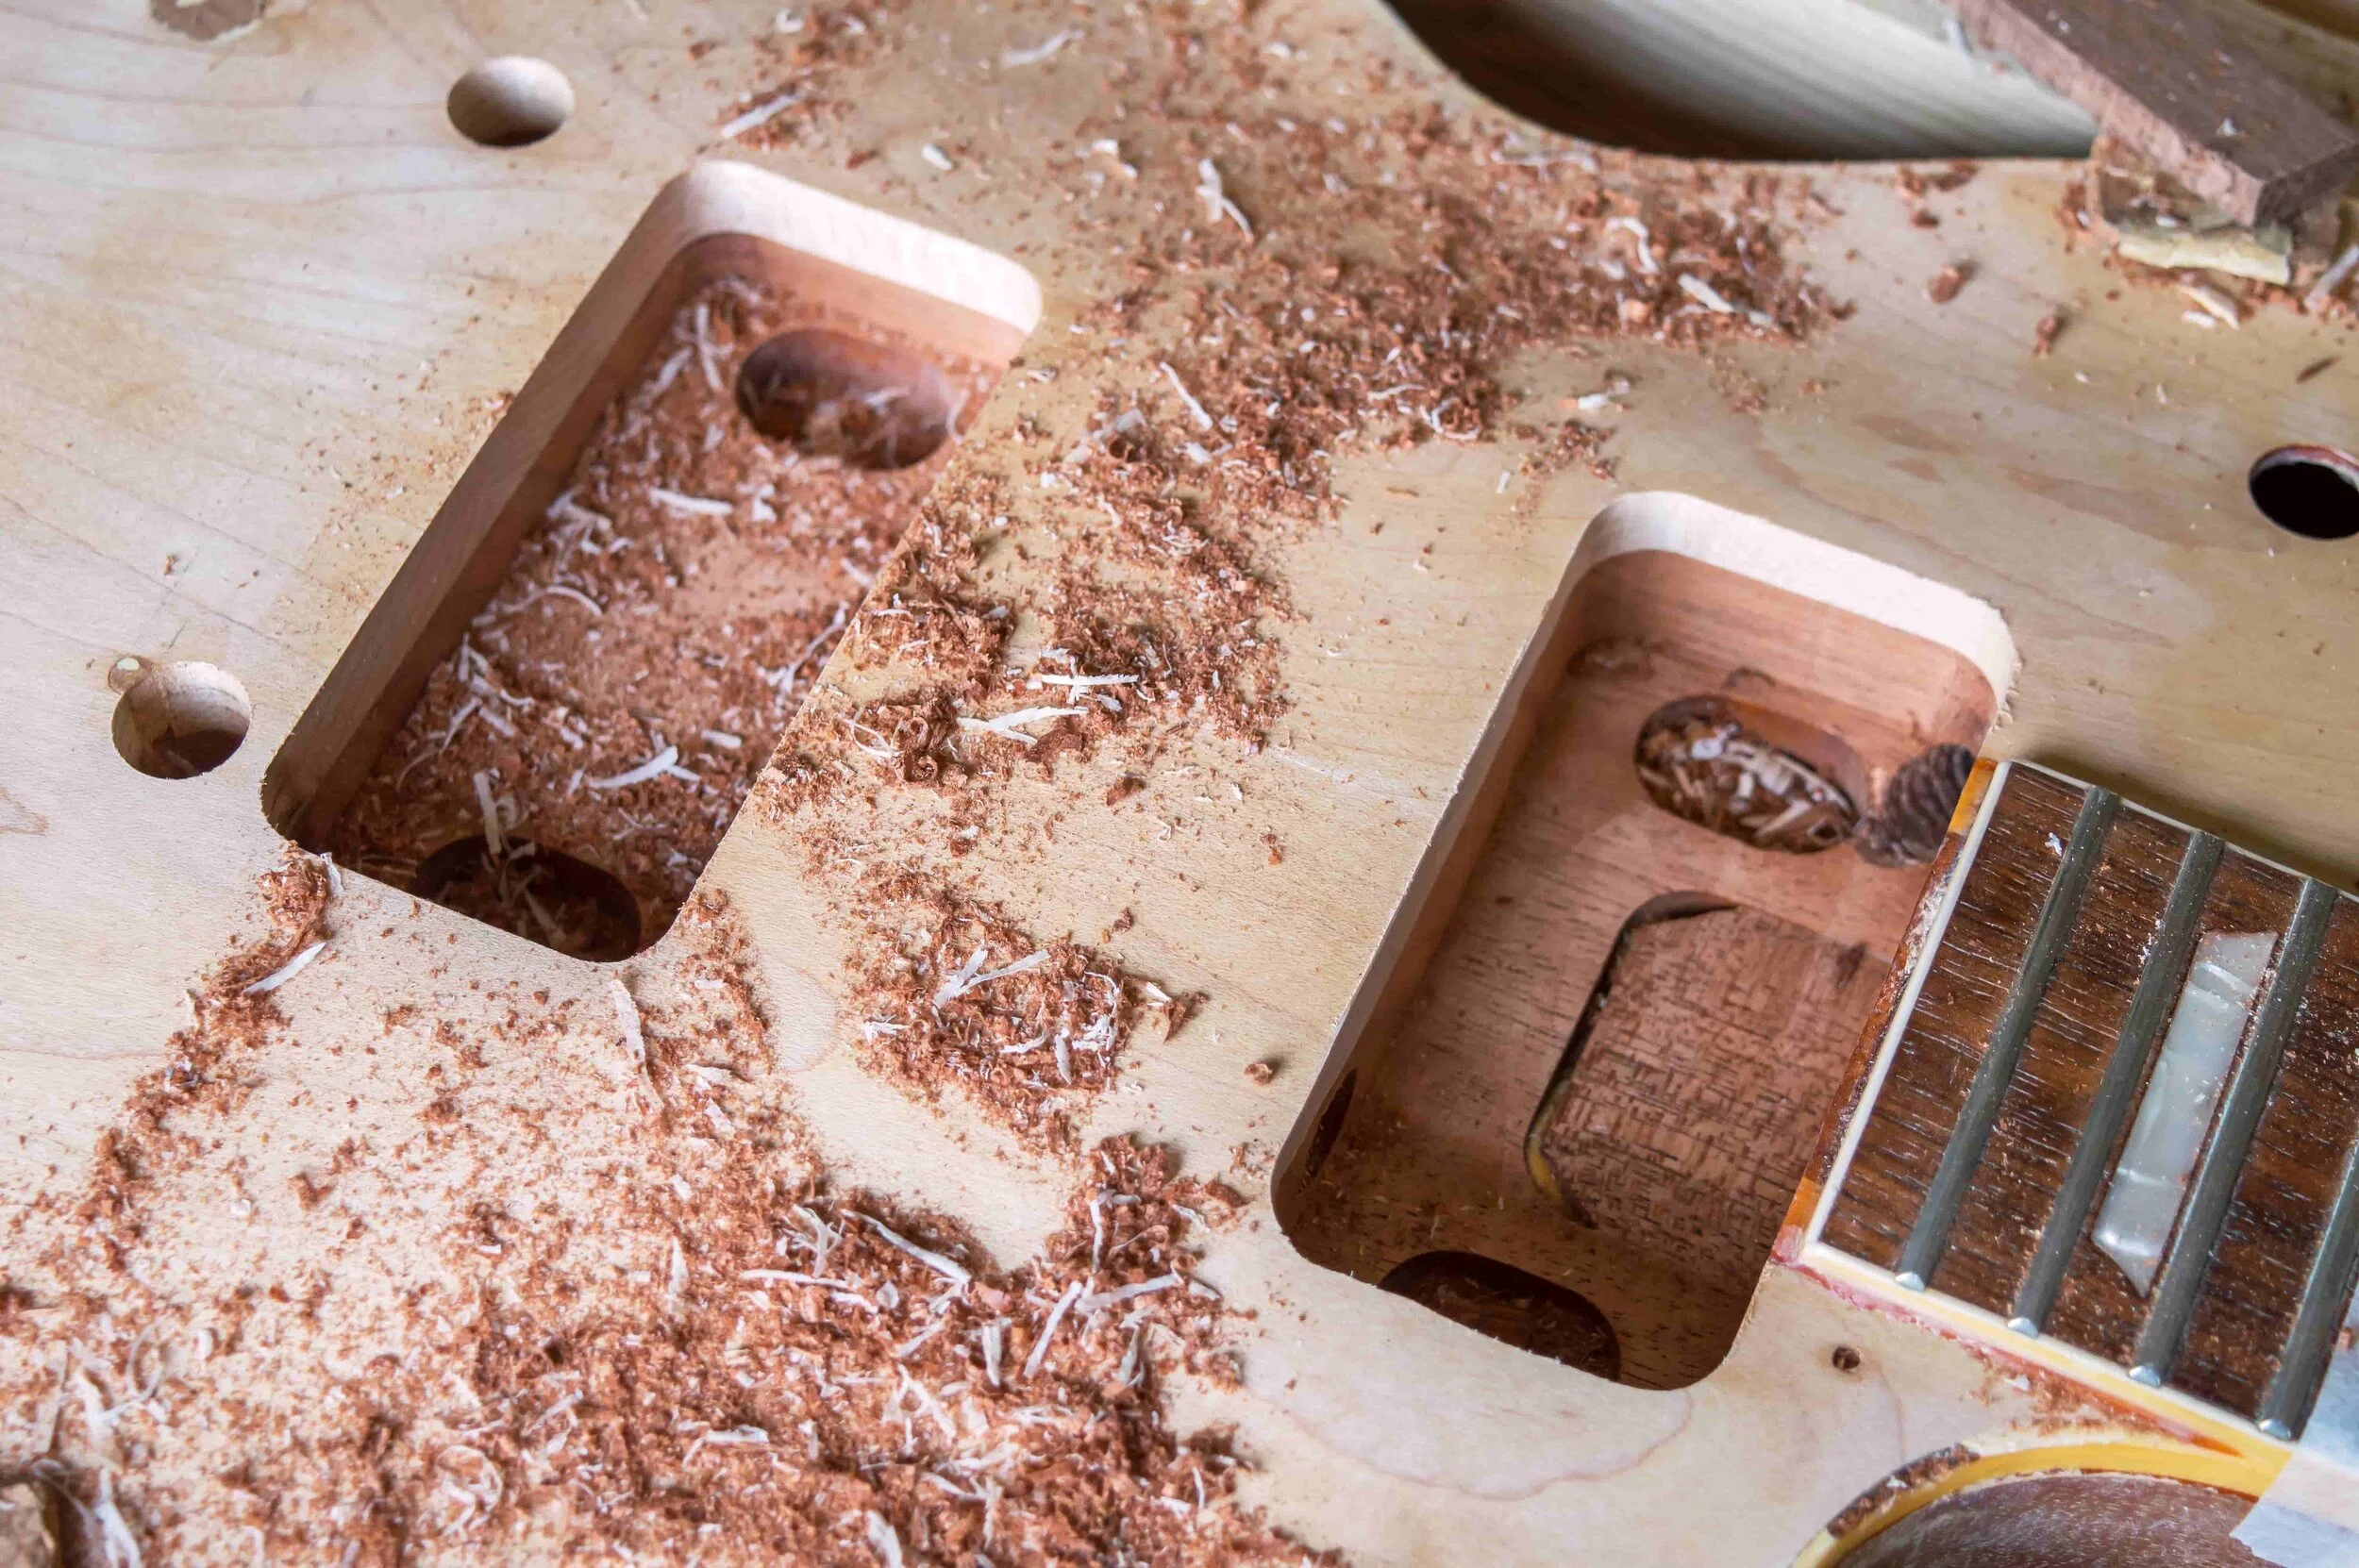
Both holes have now been routed and the plugs can now be glued in.

Pic 6 - Urea formaldehyde glue is used for the plugs and they’re clamped in position as the glue sets overnight.

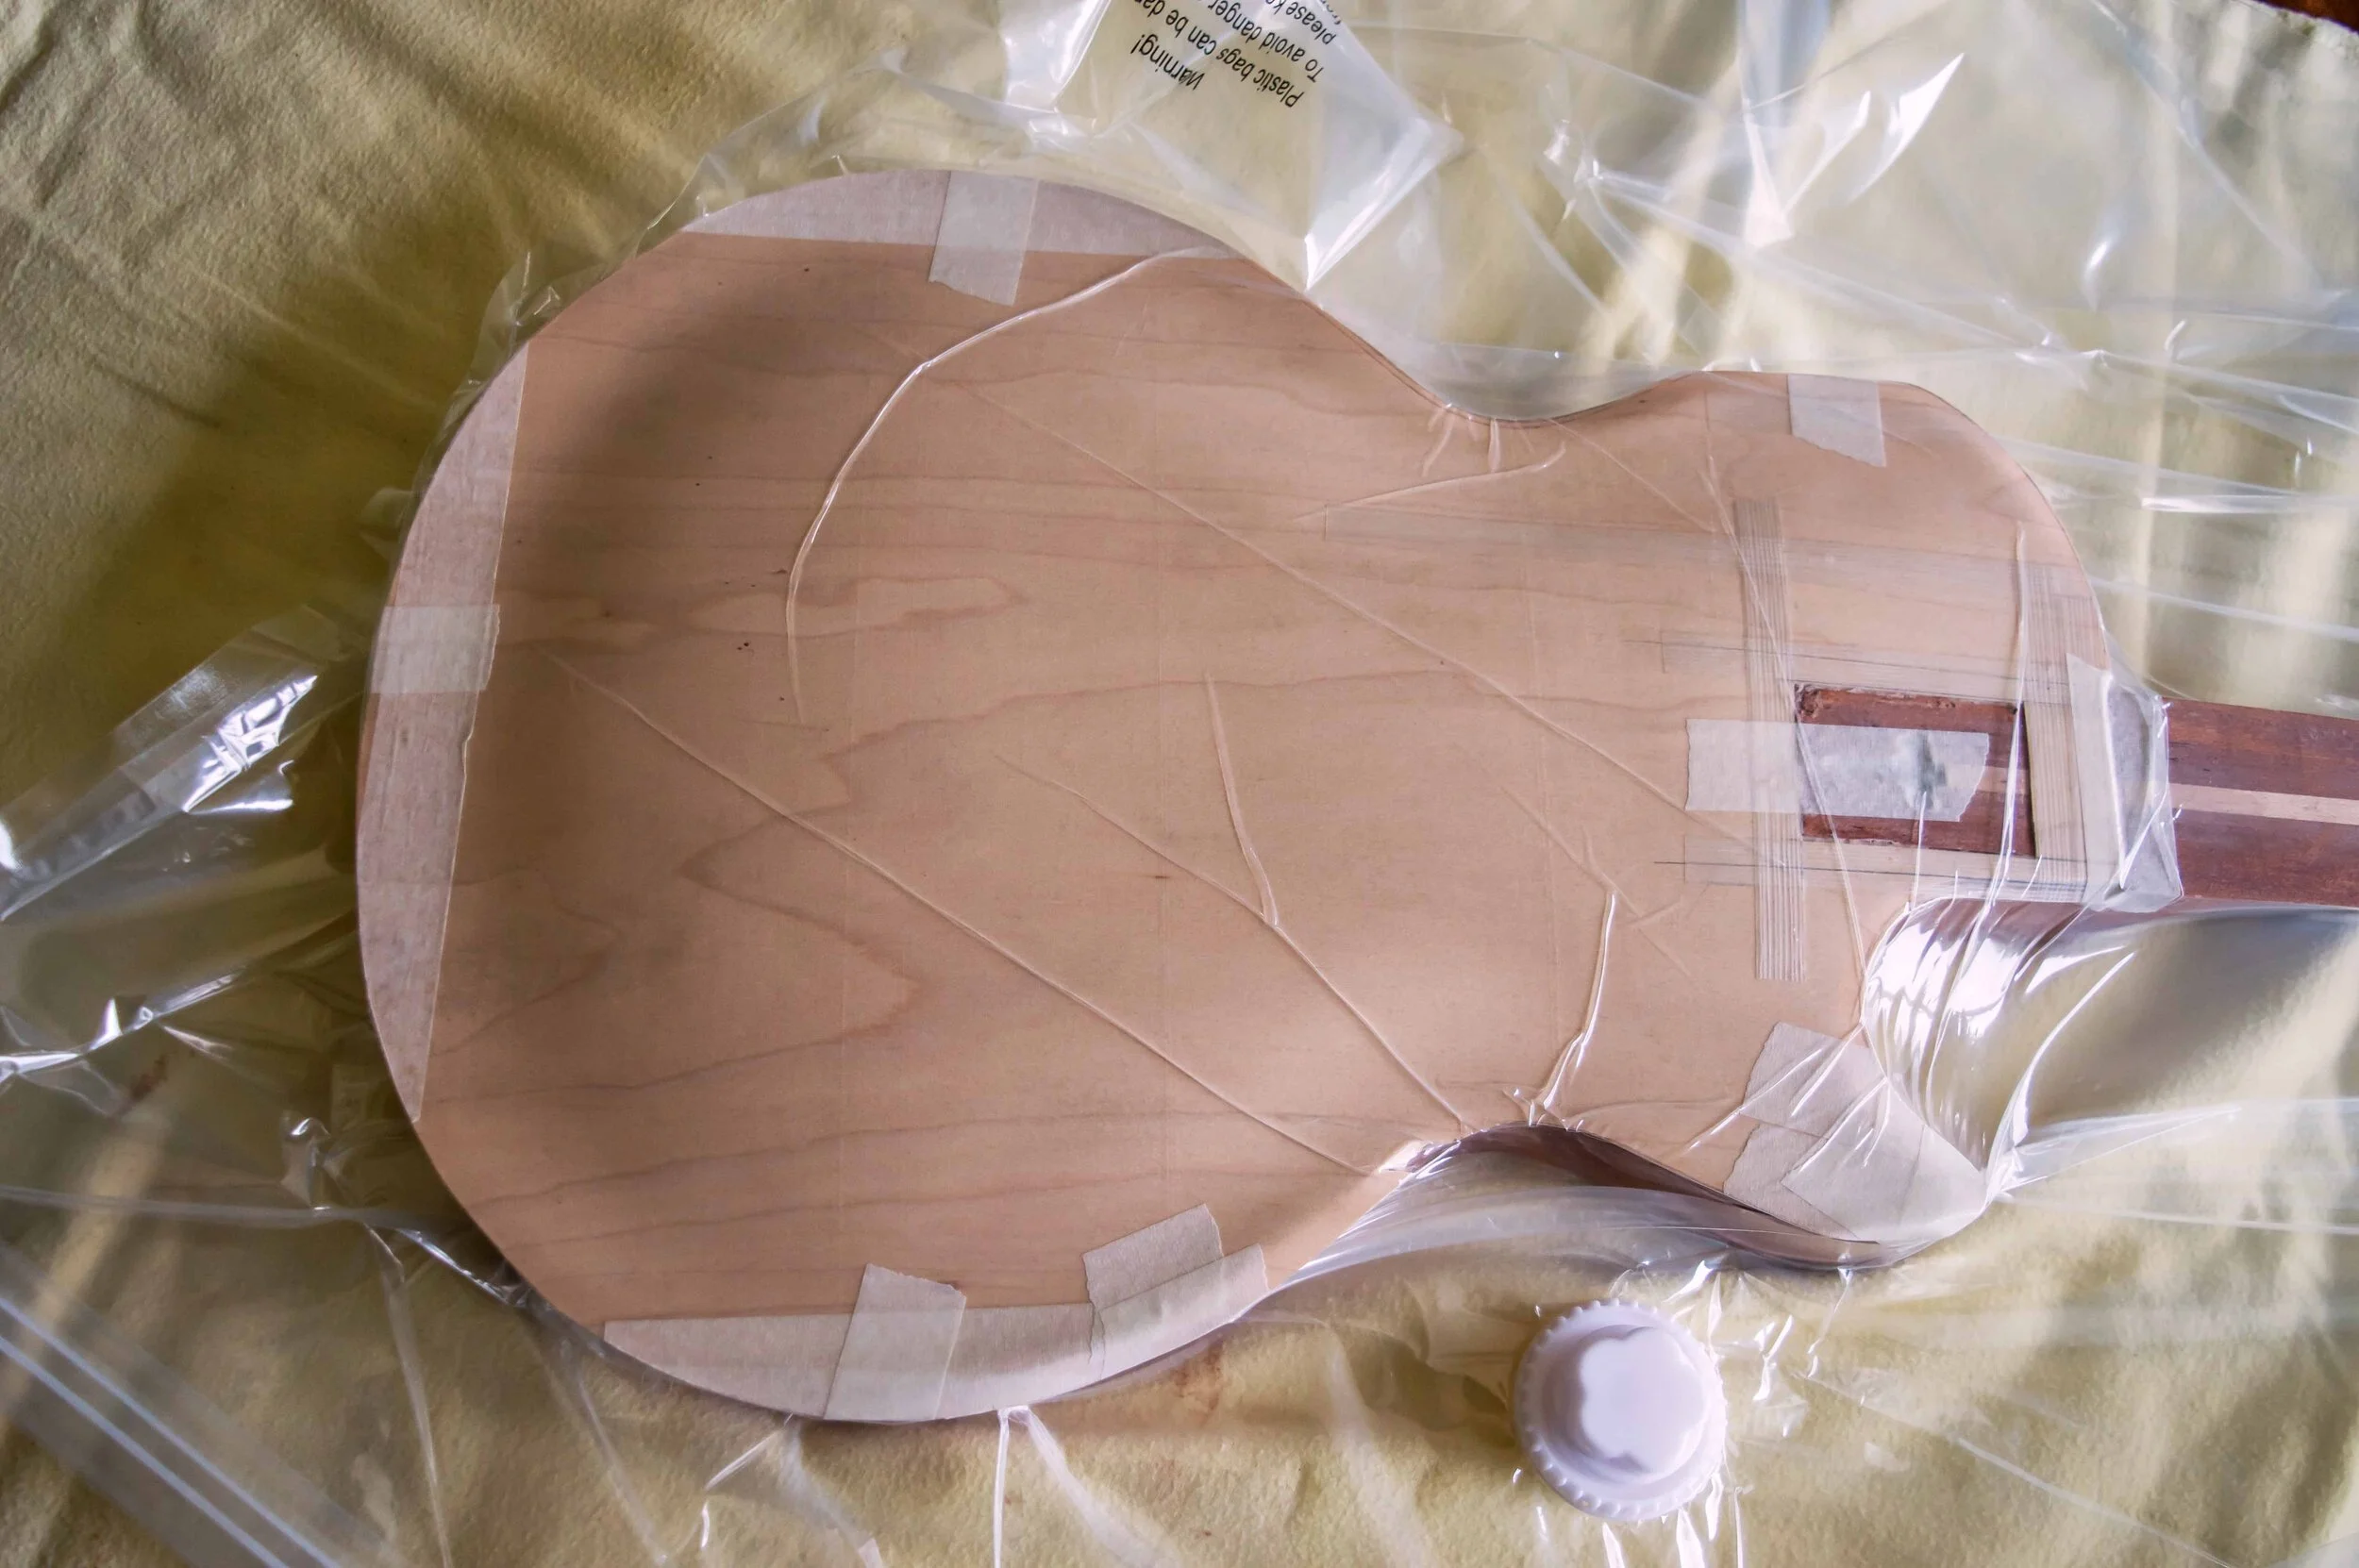
The plugs are sanded level with the top. There are some small gaps that are filled with 2-pack filler, but the veneer top will cover all of this. The guitar is also strung up to confirm that the bridge location is correct.

The fretboard and fretboard binding are removed and a refret is performed with tall early 50s style fret wire. Veneer is also glued to the rear of the fretboard to make the neck depth closer to 1954 Gibson spec.
A single piece of veneer is cut to size and glued over the maple cap using urea formaldehyde glue and a vacuum press.

The glued veneer is trimmed flush with edge of the binding channel and new binding is glued on and held with binding tape.

The binding is scraped flush with the sides and top, and the veneer is sanded smooth.

Fresh binding is applied to the fretboard and binding nibs are rough cut. New position dots are made from a celluloid guitar pick.

With the fretboard glued back on, the Greco neck profile is compared with templates made from a 1954 Goldtop. Some wood needs to be removed from the shoulder area, where the template is touching the neck.
Just a little bit more needs to come off the shoulder area, but the profile is now an almost perfect copy of a 1954 Gibson neck.

Placing the covers under the strings establishes the pickup positions. Before routing, I hog out some of the wood using a forstner bit.
The pickup holes are done and I’ve replicated Gibson’s routing pattern at the bottom of the cavities. But some alterations have been made because Greco didn’t rout a diagonal channel for the pickup and witch wires.

The guitar is reassembled and tested prior to re-spraying and it’s immediately apparent that it’s going to sound fantastic.

The Greco has a three piece back, with pieces grafted on at the edges. It also has a stacked heel. To hide the joins, I decide on a shaded dark back rather than the historically correct natural brown finish.

Like the formula Gibson used, Manchester Guitar Tech’s Goldtop lacquer contains bronze powder. Here the gold has been applied and then covered with tinted clear coats.

Oxidising the gold lacquer gives it a darker and greener hue. To do this I cover the top with tissue paper and pour over a solution of diluted ammonia, vinegar and salt. The paper helps to distribute the liquid evenly and prevent it from pooling.

To prevent the liquid from drying, I wrap the body in clingfilm and leave it overnight.

After the denting and lacquer checking processes, the finish begins to resemble an old Goldtop.

The Goldtop looks much darker after the oxidising process, but it’s worth noting that the shade of gold varied through the 1950s, with some Goldtops appearing dark and greenish, while others are paler and more of an orangey yellow.
