


GRETSCH ANNIVERSARY TO 6120 CONVERSION
This 1960 Gretsch Anniversary was found in a Texas pawn shop and spent many years in Oklahoma before I bought it. I’d dreamed of owning a flame top Gretsch 6120 since I saw a picture of John Entwistle’s in Tom Wheeler’s ‘American Guitars’ back in the 1980s. This turned into a huge project.

This Single Anniversary was originally two-tone green and would have missed out on trestle bracing by just a few months. The guitar arrived stripped and stained, as you can see here, and was pretty much unplayable.

The rosewood fretboard was in a terrible state. Deep divots had been filled with some light coloured paste and then painted black to ‘hide’ the repairs.

With vintage Gretsches of this era, neck removal always begins by taking out the neck screw.

Holes are drilled into the neck joint and steam is injected via a special needle. The pooping water has to be wiped off continually as the steam softens the old hide glue.

A craft knife blade is used to scrape the still-soft glue off the body and neck.
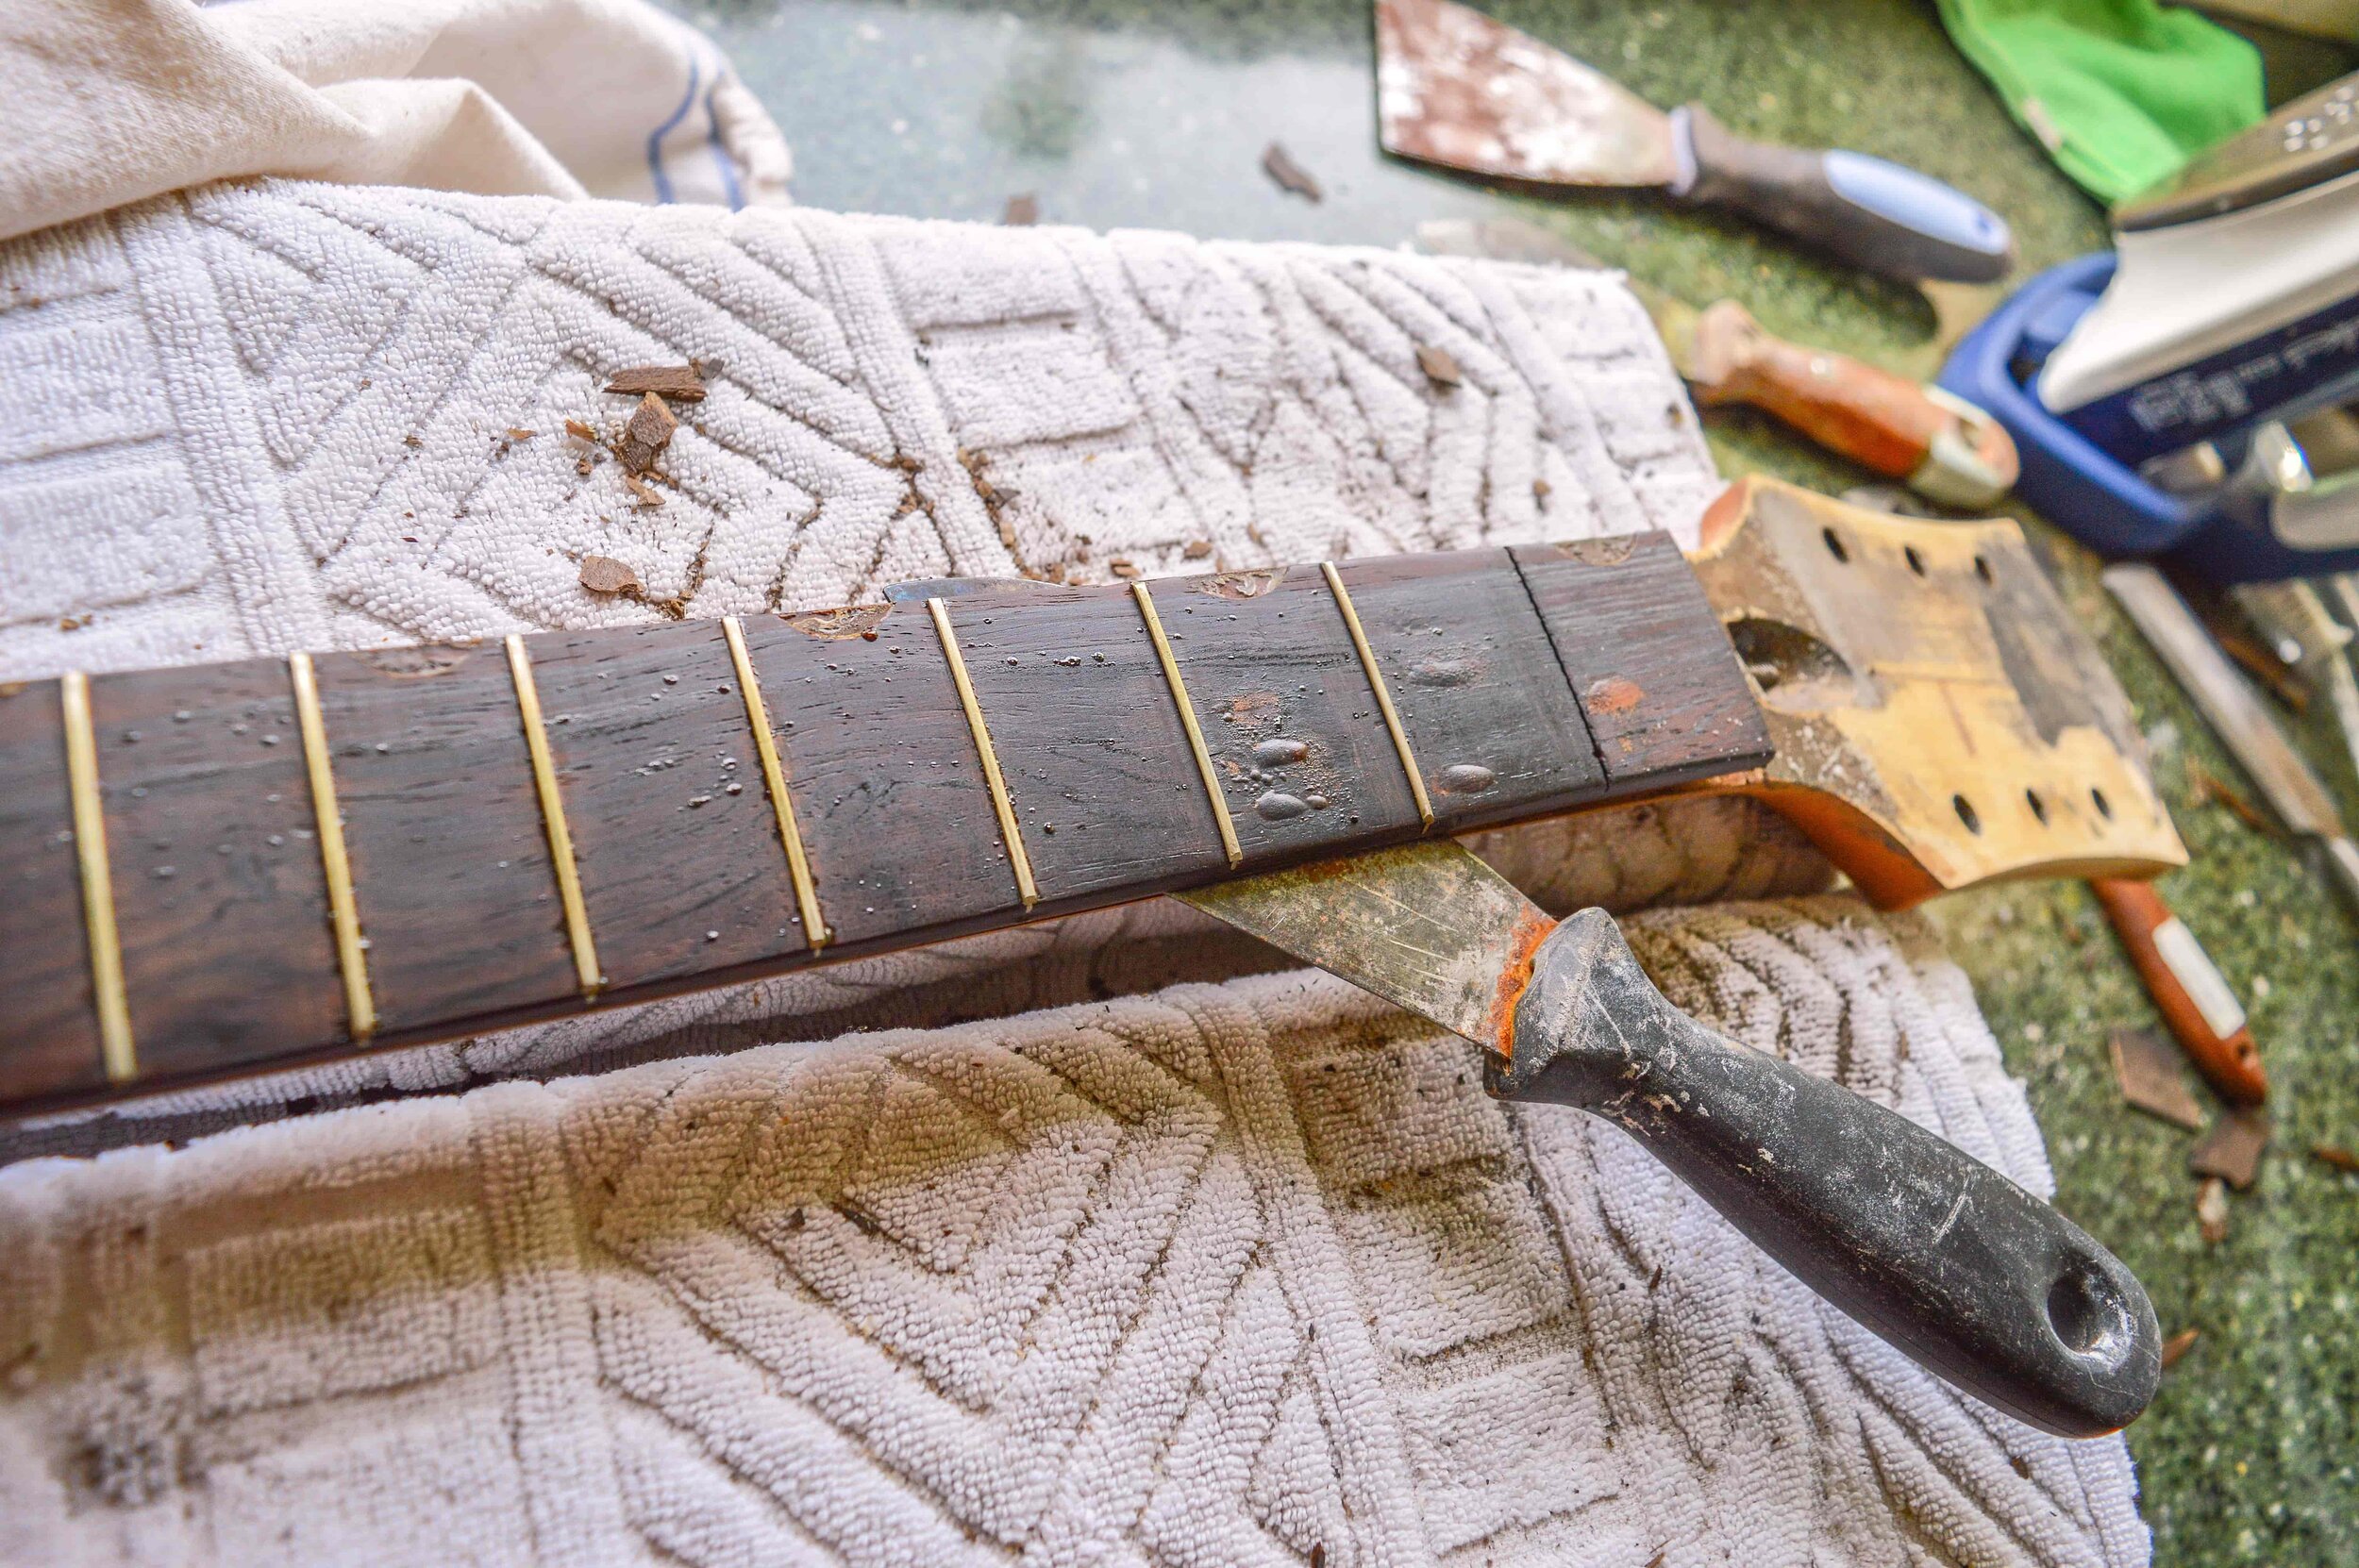
A hot clothes iron, some palette knives and a lot of patience and care are needed to seperate the fretboard from the neck.

The original headstock veneer has to be replaced because it is stained black and has four nail holes for the Anniversary metal badge.

Unusually for a Gretsch, there is no binding rot and I’m able to remove both pieces intact.

Working my way around the top with a hot iron and a palette knife, the top comes off quite easily.

On the underside you can see the parallel top braces and the ‘popsicle’ braces that bridged the F-holes. Gretsch glued paper to the back of these to prevent lacquer from getting inside the body. Once the guitar was sprayed and polished, the popsicles were snapped off and the bits of wood and paper were removed.

There’s no way this Brazilian rosewood board is going to waste. Instead, I use a radius block to sand past the divots and create an accurate 9.5” radius.

The board is looking good but its thickness has to me made up by gluing veneer onto the rear surface and I’ll have to deepen the routs for the ‘thumbnail’ markers.

The fretboard edges were very worn and damaged so I trim off approximately 1mm using a table router. This trues up the back veneer, cleans up the edges and creates the space needed for the fretboard binding.

The markers are back in and the binding is glued on. 6120s had ebony fretboards, but I prefer rosewood so this is going back onto the guitar.

The peghead veneer is actually vintage Gretsch stock, and you can still buy these from time to time.

Binding the headstock is tricky, but I’m pleased with the result and I like the hint of flame in the veneer.
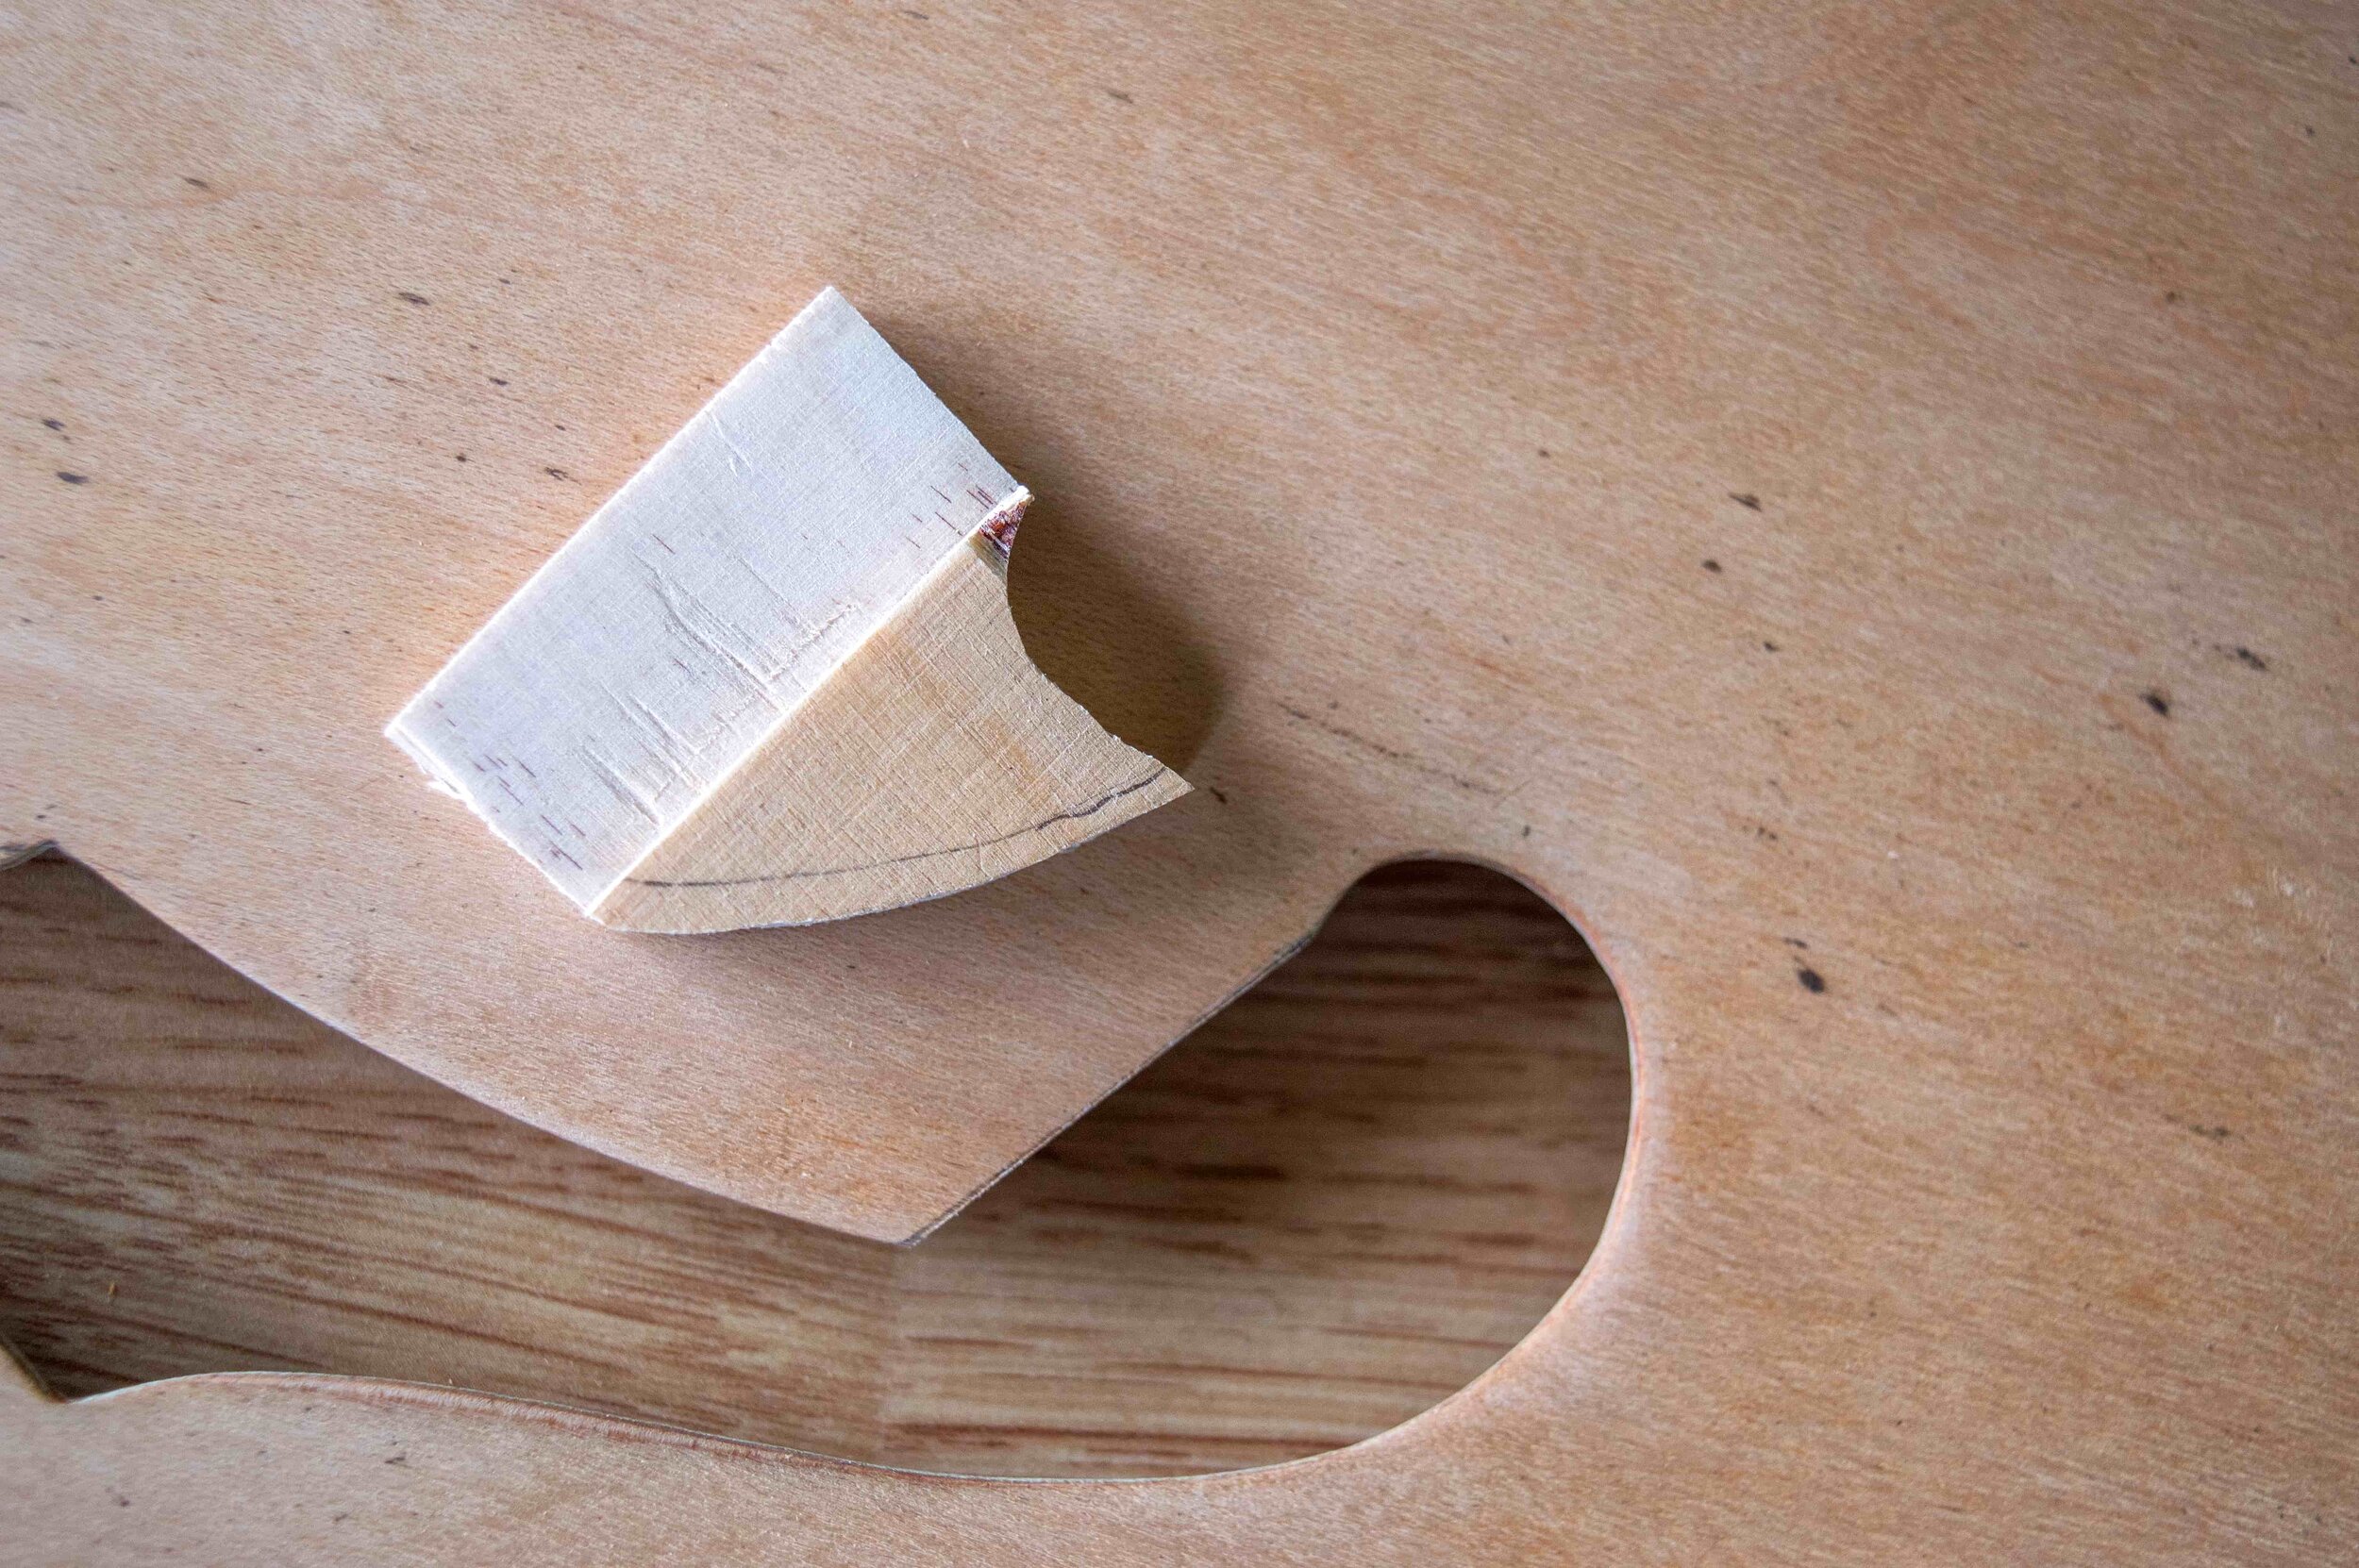
Did you notice the broken F-hole in the previous photos? It’s about to be repaired by grafting on this patch.
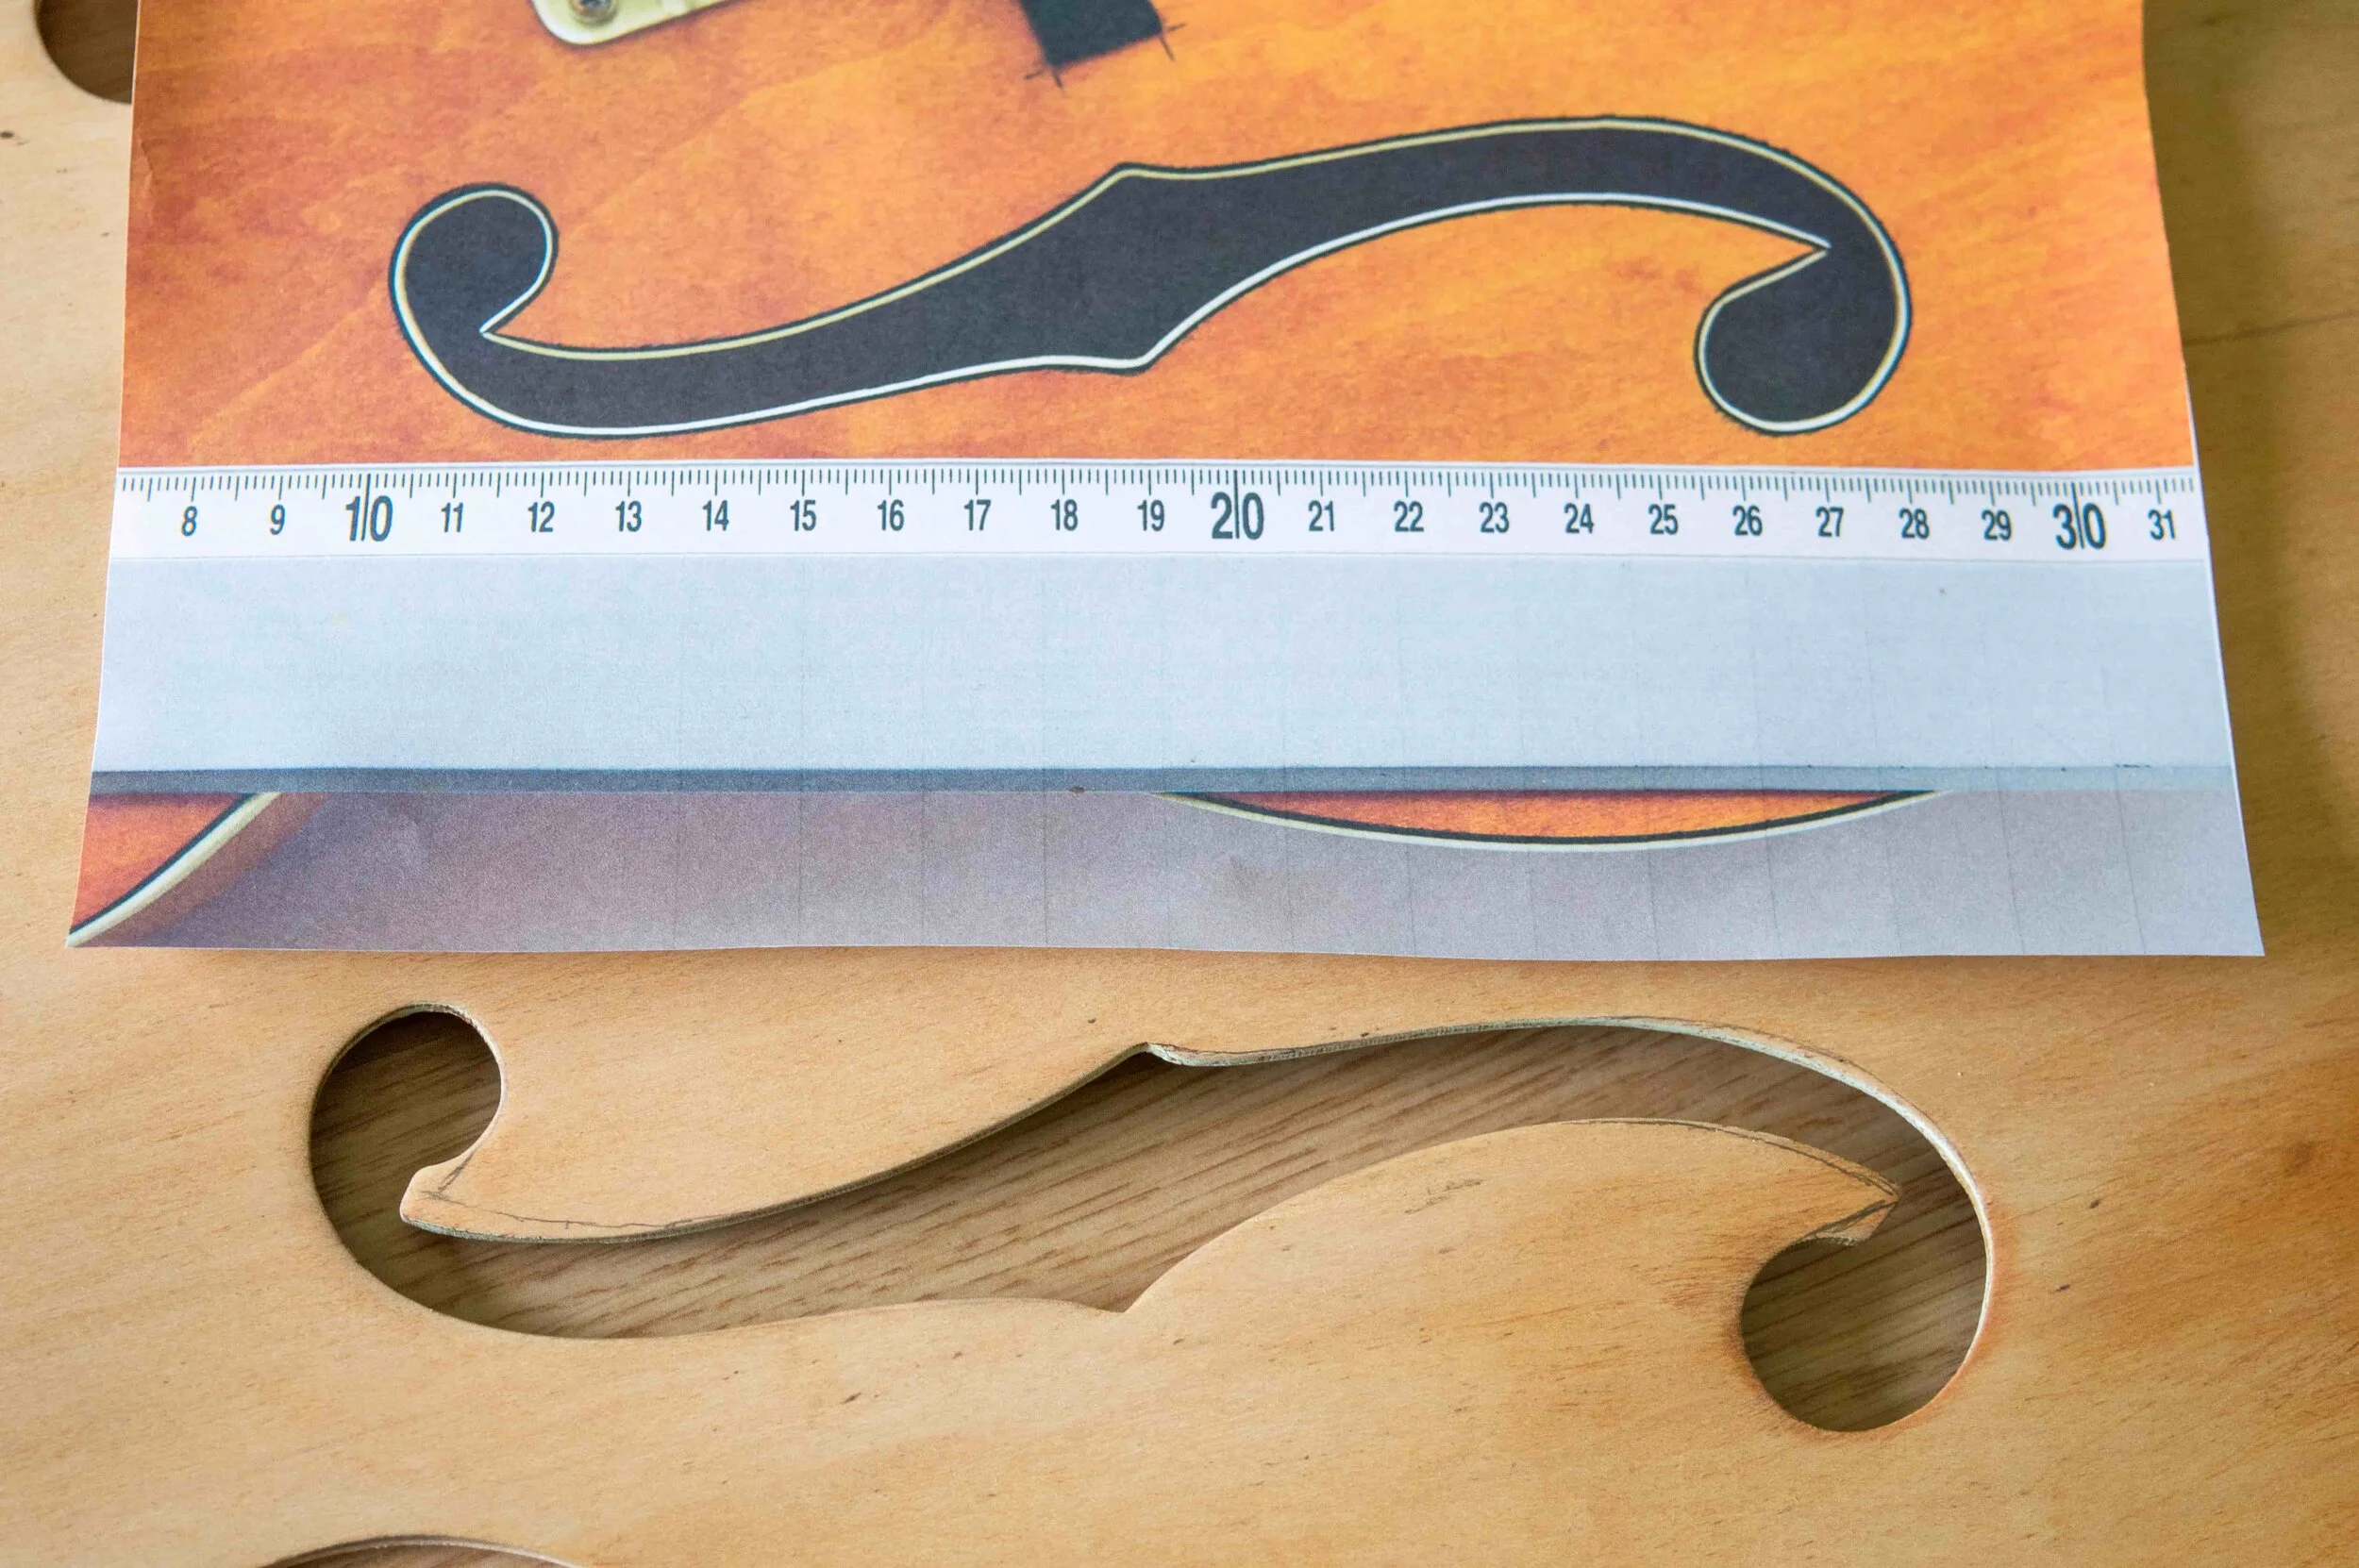
My friend Daniel Nicholas provided this photo of his 6120, which I printed to scale. Notice the subtle differences between the shapes of Gretsch’s bound and un-bound F-holes. I’m about to correct that.

Here’s the repaired F-hole after it has been cut to the required shape. Once the underside is tidied up and the top has been veneered, the repair will be invisible.

After much searching, I’m able to source some wide sheets of curly maple veneer. I use a cutout of the body shape to decide which section I want to use.

My friend Patrick Alexander helped me with the top veneer and we used his vacuum press. I learned a lot that day and I’ve since veneered a couple of LP style guitars.

The F-holes are veneered and the binding is bent into the centre notches of the holes rather than cut - just as Gretsch did it.

These trestles are made from 100 year old pine boards and they’re the most crucial structural feature in a 6120 conversion.

Getting the top back on is a complex procedure. First the trestles have to be glued to the top braces, then the trestle feet have to be contoured to the curve of the back and glued down. The trestles themselves have to be the perfect depth and they have to be glued at the same time as glue is applied around the edges. You’ll need a lot of clamps too.

With new binding in the body, I head back to Patrick’s workshop where we reset the neck using hide glue. The strings are there to ensure everything lines up correctly and we have sufficient back angle.

The neck pickup hole has to be altered for a Filter’Tron pickup and a second pickup hole has to be cut for a bridge pickup.

The reassembled guitar is stained to my preferred shade of faded orange and sprayed with clear and tinted clear top coats of nitrocellulose lacquer.

The finished guitar has several vintage parts, including the Filter’Trons, V-cut Bigsby and Waverly tuners. The pickguard and bracket are vintage too, but I had to make the ‘signpost’ logo and spray the pickguard and pickup rings. The knobs are relic’d repros and Patrick Alexander made the bar bridge to fit on the original wooden base.

This felt like the project that would never end but here it is. It was never my intention to make a historically accurate 6120 replica. Instead I opted for a ‘hot rod’ wiring setup with a 3-way switch, and master volume and no-load tone pot. I also retained the rosewood fretboard and nut because I don’t like zero frets.
The finished guitar!

This was a very personal project that was all about creating the Gretsch I’ve been dreaming about since the 1980s. Although I’m not in the habit of naming guitars, I’m calling this one Clyde because it’s so big and orange. I’ve learned a lot along the way, and greatly enjoyed the whole process.